


This is my first post on Terraform series. Hence I will limit my discussion to the overview on Terraform and the creation of EC2 instance using Terraform in the simplest means.
Before approaching WHAT is Terraform, we need to address the WHY. First, let us understand Infrastructure as Code (IaC) and its role in the current digital transformation context.
Everybody has been gung-ho around Agile and DevOps processes. These practices around software development have yielded enormous benefits to organizations. Hence triggered the need to automate the mundane and manual process of Infrastructure deployments at scale. The sole purpose of Infrastructure as a Code (IaC) is to write & execute code - to automate provisioning & management of Infrastructure. This demands a change in mental mindset - to consider all aspects of software development (especially Infra provisioning) as software.
For example, let us assume that we need to create 3-Tier Architecture along with Security Groups, Load balancers, Bastion hosts, VPC, Subnets, Routes in AWS Cloud. This can be achieved easily by Console or CLI. However, once approved these development settings need to be replicated in multiple environments. Now things might sound a little challenging as there is a scope of error involved. Here, Terraform comes to our rescue - write once and execute anywhere.
There are 2 ways to approach IaC.
An
imperativeapproach instead defines the specific commands required to achieve the desired configuration, and those commands then need to be executed in the correct order.A
declarativeapproach defines the system's desired state, including what resources you need and any properties they should have, and an IaC tool will configure it for you.
A declarative approach also keeps a list of the current state of your system objects, which makes taking down the infrastructure simpler to manage.
Terraform falls under the declarative category and makes use of HashiCorp Language (HCL). It is an Open Source tool developed by HashiCorp and is written in the Go language. The installable is a single binary called terraform. This binary is used to provision infrastructure from any server or even your laptop. It is a very popular IaC provisioning tool backed by vibrant community support. It is Cloud agnostic and hence it can be leveraged to deploy Cloud Infrastructure on multiple Cloud providers.
Under the hood, the terraform binary invokes API calls via Providers and leverages existing infrastructure already used by these providers for their API servers. A provider is responsible for understanding API interactions & exposing resources. Currently, it supports 34 Official Providers and 160+ verified providers.
Prerequisites
- Terraform Installation
- AWS Cloud Account (Free tier will be preferred)
- AWS User with Programmatic access
- AWS Access Key ID
- AWS Secret Access Key
- AWS IAM Privileges to create EC2 Instance
- AWS CLI Installation
Software Version
- Terraform 0.15+
- AWS CLI 2.0
Refer to my earlier blog to configure AWS CLI
Code Time
Let us start writing some Terraform Code to create an AWS EC2 instance.
Create Project folder tf-aws-ec2
mkdir tf-aws-ec2 && cd $_
Create a file named main.tf. For the purpose of this initial demo, we will hardcode all the configuration values. For production, hardcoding is not recommended. We will see in further tutorials to write terraform code as per best practices.
touch main.tf
Open your favorite IDE (e.g. VSCode). Copy the below code in main.tf
The terraform block configures the required AWS provider along with the relevant version.
terraform {
  required_providers {
    aws = {
      source  = "hashicorp/aws"
      version = "~>3.0"

    }
  }
}
The provider block configures AWS region and default tags applicable to all resources created via Terraform code.
provider "aws" {
  region = "us-east-1"
  default_tags {
    tags = {
      "Environment" = "dev"
      "Owner"       = "g33kzone"
    }
  }
}
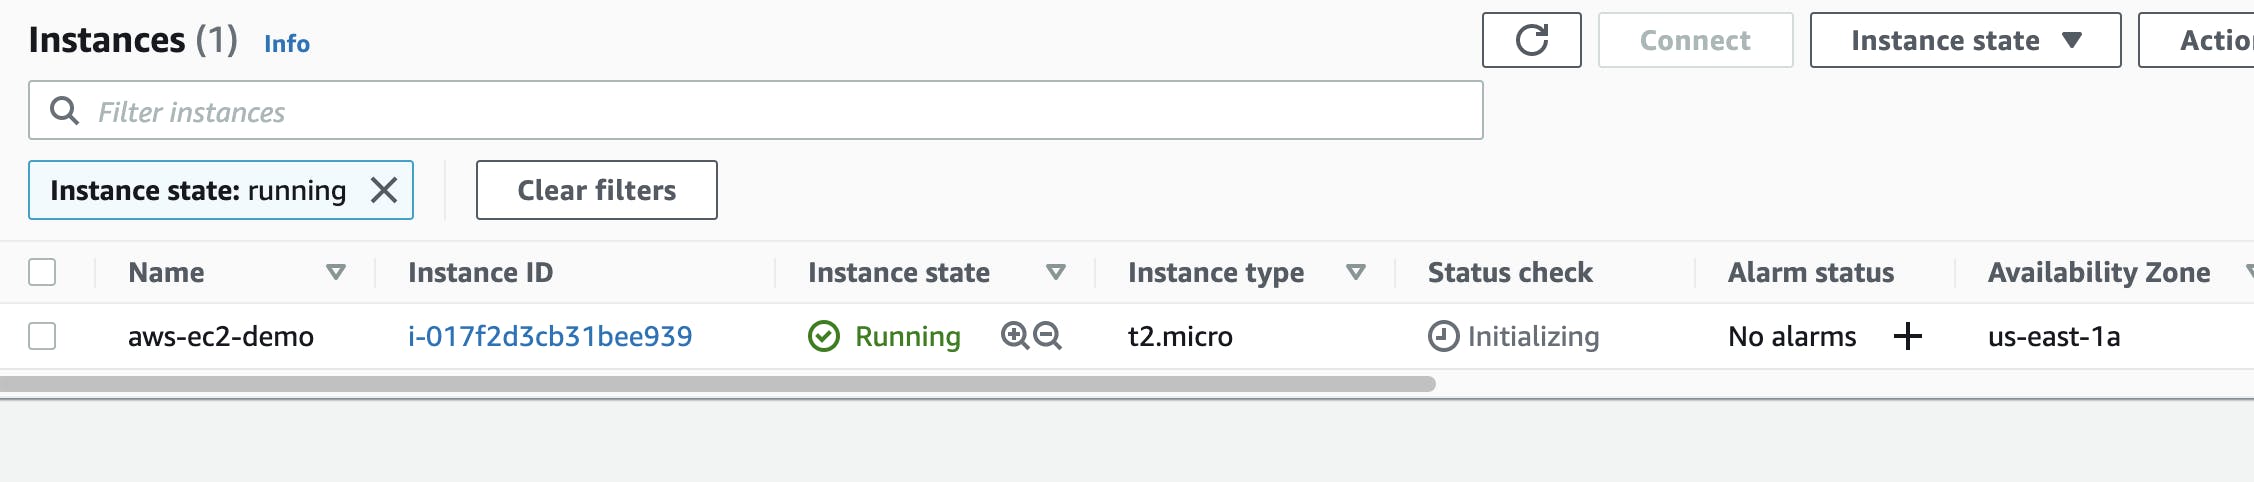
The resource block is responsible to create EC2 instance with the given configuration. It create an EC2 instance with 't2.micro' Instance Type along with the AMI specified.
resource "aws_instance" "web" {
  instance_type = "t2.micro"
  ami           = "ami-04d29b6f966df1537"

  tags = {
    "Name" = "aws-ec2-demo"
  }
}
The main.tf file should contain the following code.
terraform {
  required_providers {
    aws = {
      source  = "hashicorp/aws"
      version = "~>3.0"

    }
  }
}

provider "aws" {
  region = "us-east-1"
  default_tags {
    tags = {
      "Environment" = "dev"
      "Owner"       = "g33kzone"
    }
  }
}

resource "aws_instance" "web" {
  instance_type = "t2.micro"
  ami           = "ami-04d29b6f966df1537"

  tags = {
    "Name" = "aws-ec2-demo"
  }
}
Code Execution
Now that we have written the minimal terraform code. Let us start to execute the code
It involves four basic commands init, plan, apply, destroy
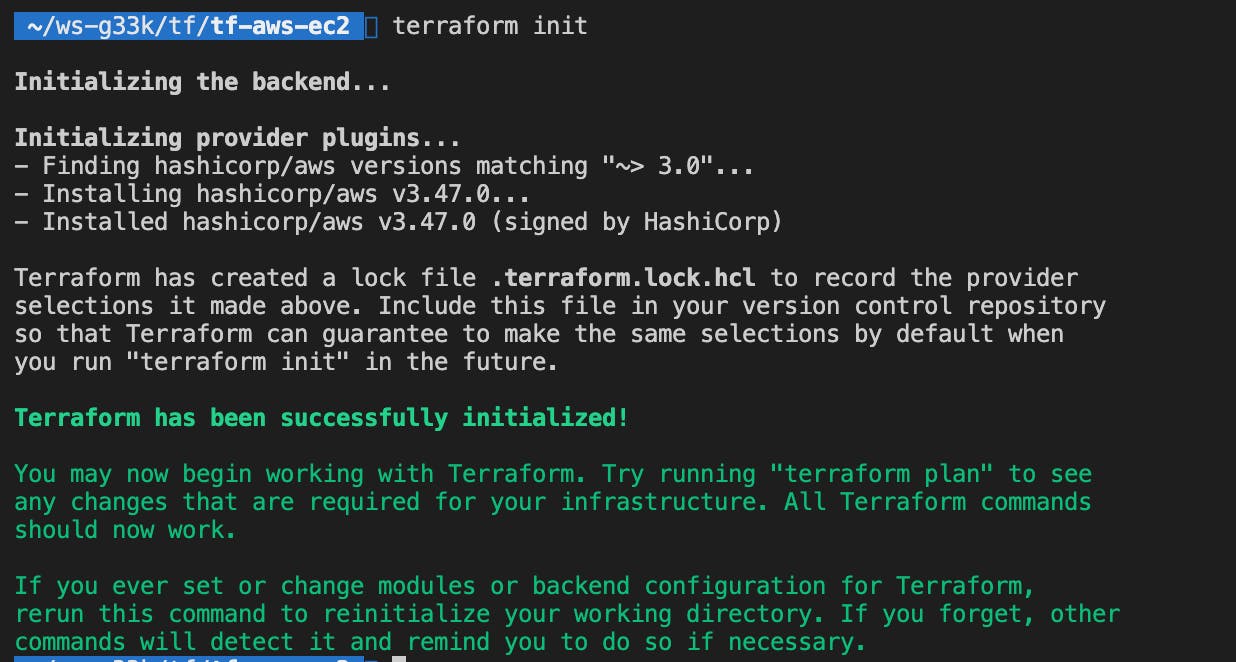
Initialize the terraform code
# open your shell in the same project folder

# download the terraform core components
# and initialize terraform in this directory
terraform init
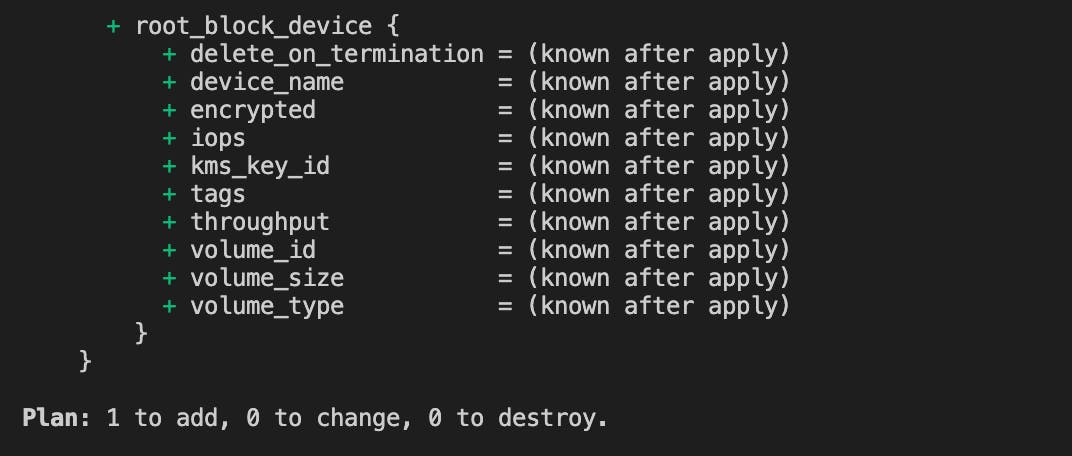
Create a plan based on the code
# Validate changes to be made in AWS after the execution
terraform plan
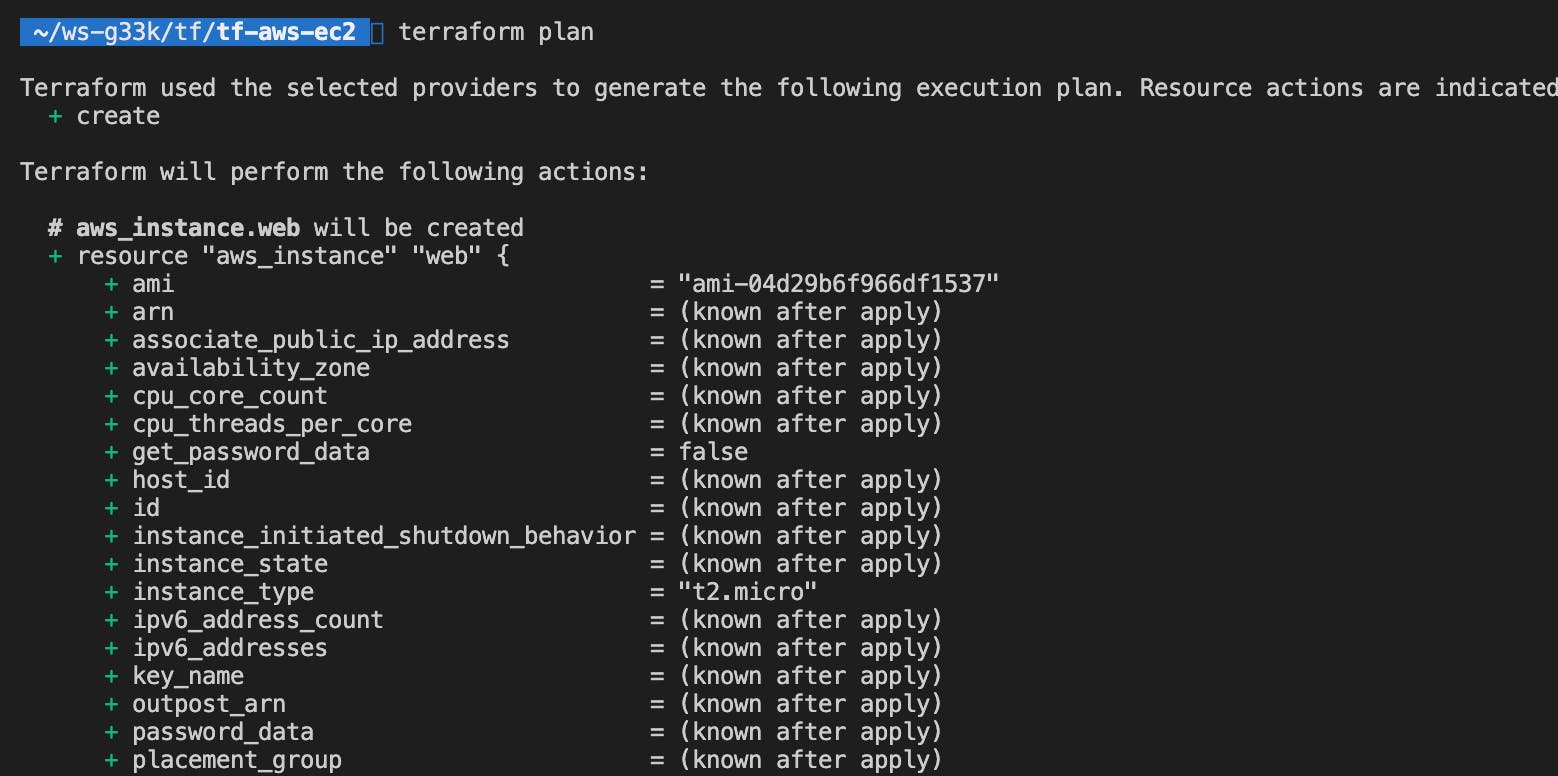
Summarizes overall changes to be made as part of this plan execution.
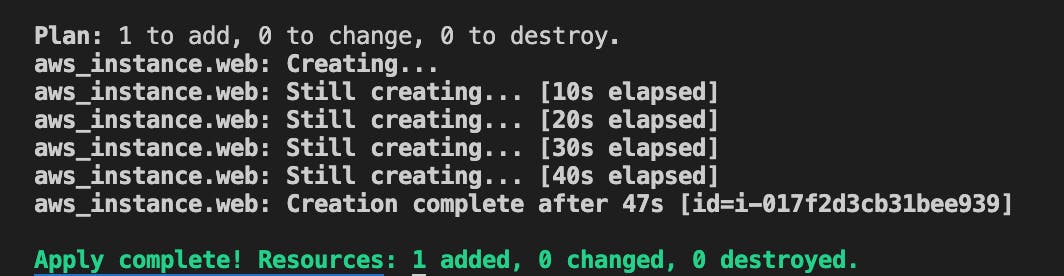
Apply the plan changes to achieve the desired state as per the Terraform code.
# -auto-approve is used to skip manual approval prompt
terraform apply -auto-approve
Clean Up
Let us delete the infrastructure created to avoid any costs.
# running this command will destroy all the resources
terraform destroy -auto-approve
Github Repo (branch - getting-started) - https://github.com/g33kzone/tf-aws-ec2