


This post provides an overview of the steps required to install and run Jenkins Server on Amazon Linux 2. By the end of the post, we will have a working Jenkins Server ready to configure pipelines.
Jenkins can be installed in numerous ways - Native system packages, Docker, standalone executable session. This post will be focused on native package installation.
Jenkins recommends the following minimum hardware requirements for Server configuration
- 1 CPU
- 256 MB of RAM
- 1 GB of drive space (although 10 GB is a recommended minimum if running Jenkins as a Docker container)
For Demo purposes, we can select the T2 micro instance type as it satisfies the above minimum criteria.
Prerequisites
- AWS Cloud Account (Free tier will work)
- A EC2 instance running with
T2 microfor instance type - AWS key-pair to
SSHinto the EC2 instance - Configure firewalls (security groups) to allow SSH access into the EC2 instance
Installation Steps
Step 1. Initiate an SSH session into your Amazon Linux - EC2 instance.
Step 2. Update existing installed packages on the EC2 instance
sudo yum update -y
Step 3. Install most recent Open JDK (Java ver 11). Required for Jenkins installation
sudo amazon-linux-extras install java-openjdk11 -y
Step 4. Add Jenkins repo to Amazon Linux 2 server
sudo tee /etc/yum.repos.d/jenkins.repo<<EOF
[jenkins]
name=Jenkins
baseurl=http://pkg.jenkins.io/redhat
gpgcheck=0
EOF
Step 5. Import GPG Jenkins repo key
sudo rpm --import https://jenkins-ci.org/redhat/jenkins-ci.org.key
Step 6. Update list of repositories
sudo yum repolist
Step 7. Install Jenkins in Amazon Linux 2 server
sudo yum install jenkins -y
Step 8. Start Jenkins service
sudo systemctl start jenkins
Step 9. Enable Jenkins service to start at OS boot
sudo systemctl enable jenkins
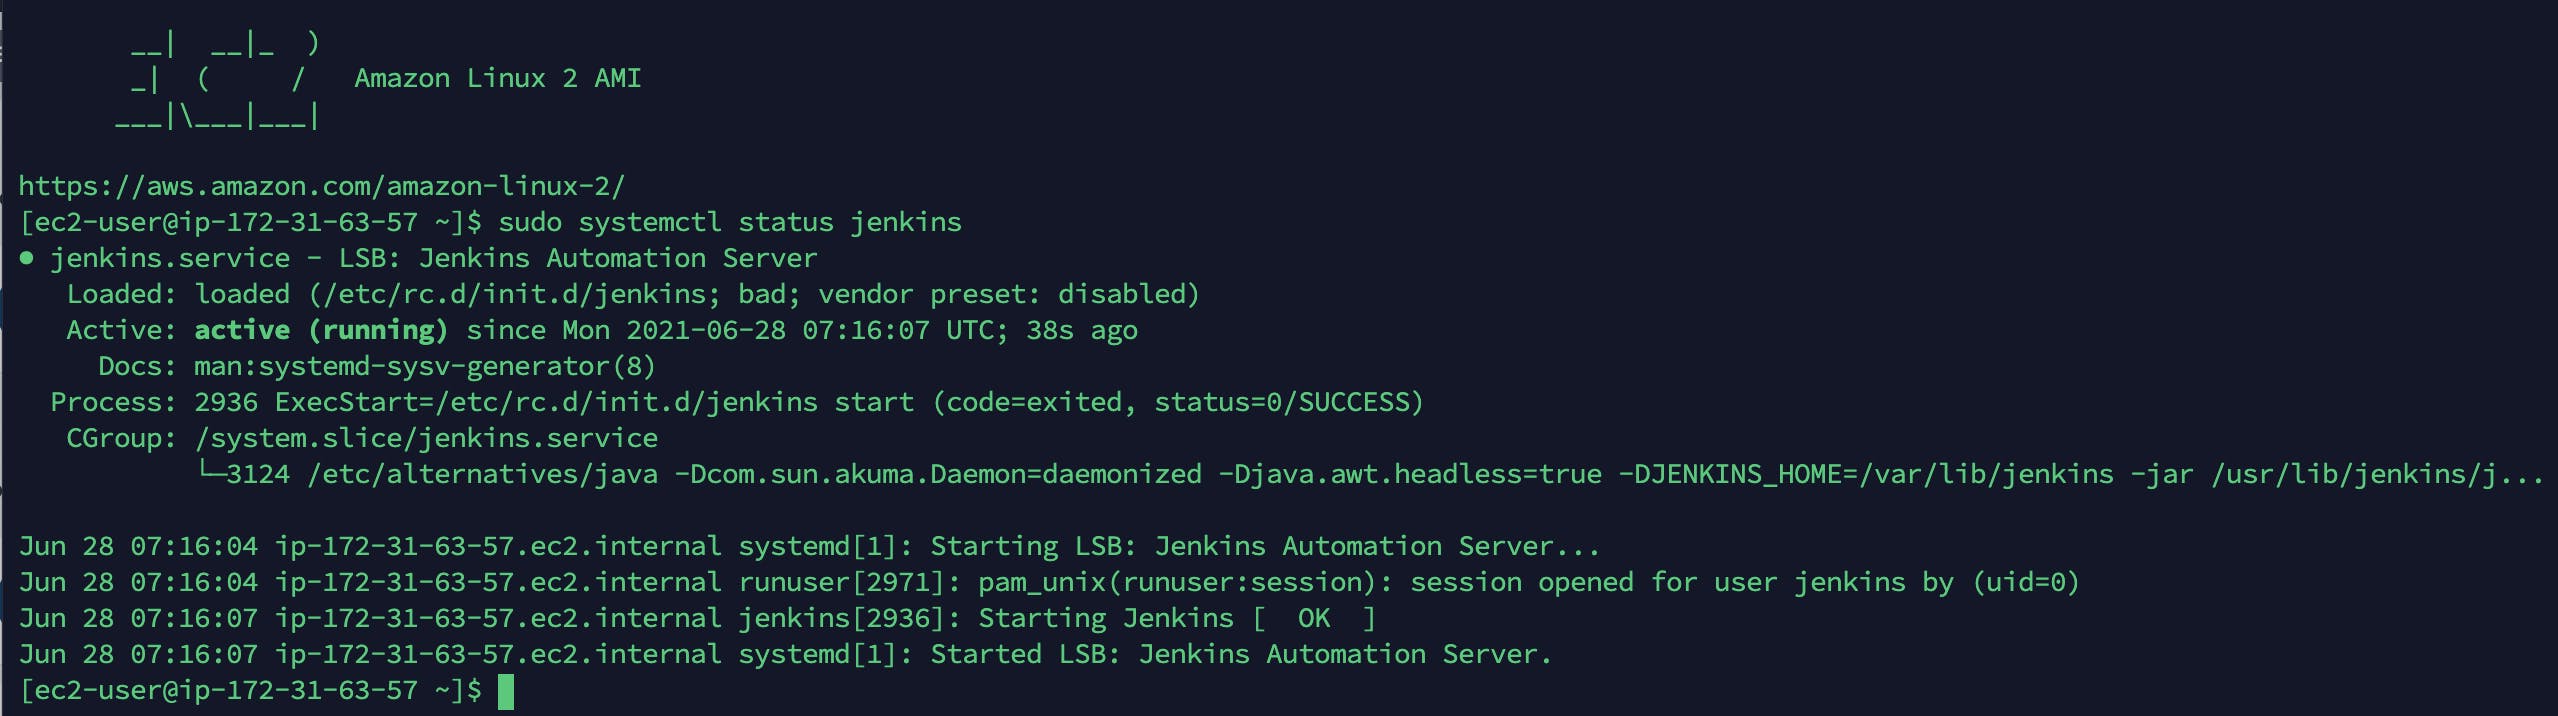
Step 10. Confirm that the Jenkins Service is up and running
sudo systemctl status jenkins
Step 11. Validate if the Jenkins service is configured to autostart on system reboot.
sudo systemctl is-enabled jenkins

Step 12. Access Jenkins Server on EC2 instance Jenkins service by default binds to port 8080. It will be accessible on
http://[server-ip-or-hostname]:8080
For the first time, Jenkins will prompt the Unlock Jenkins screen to authenticate the installation.
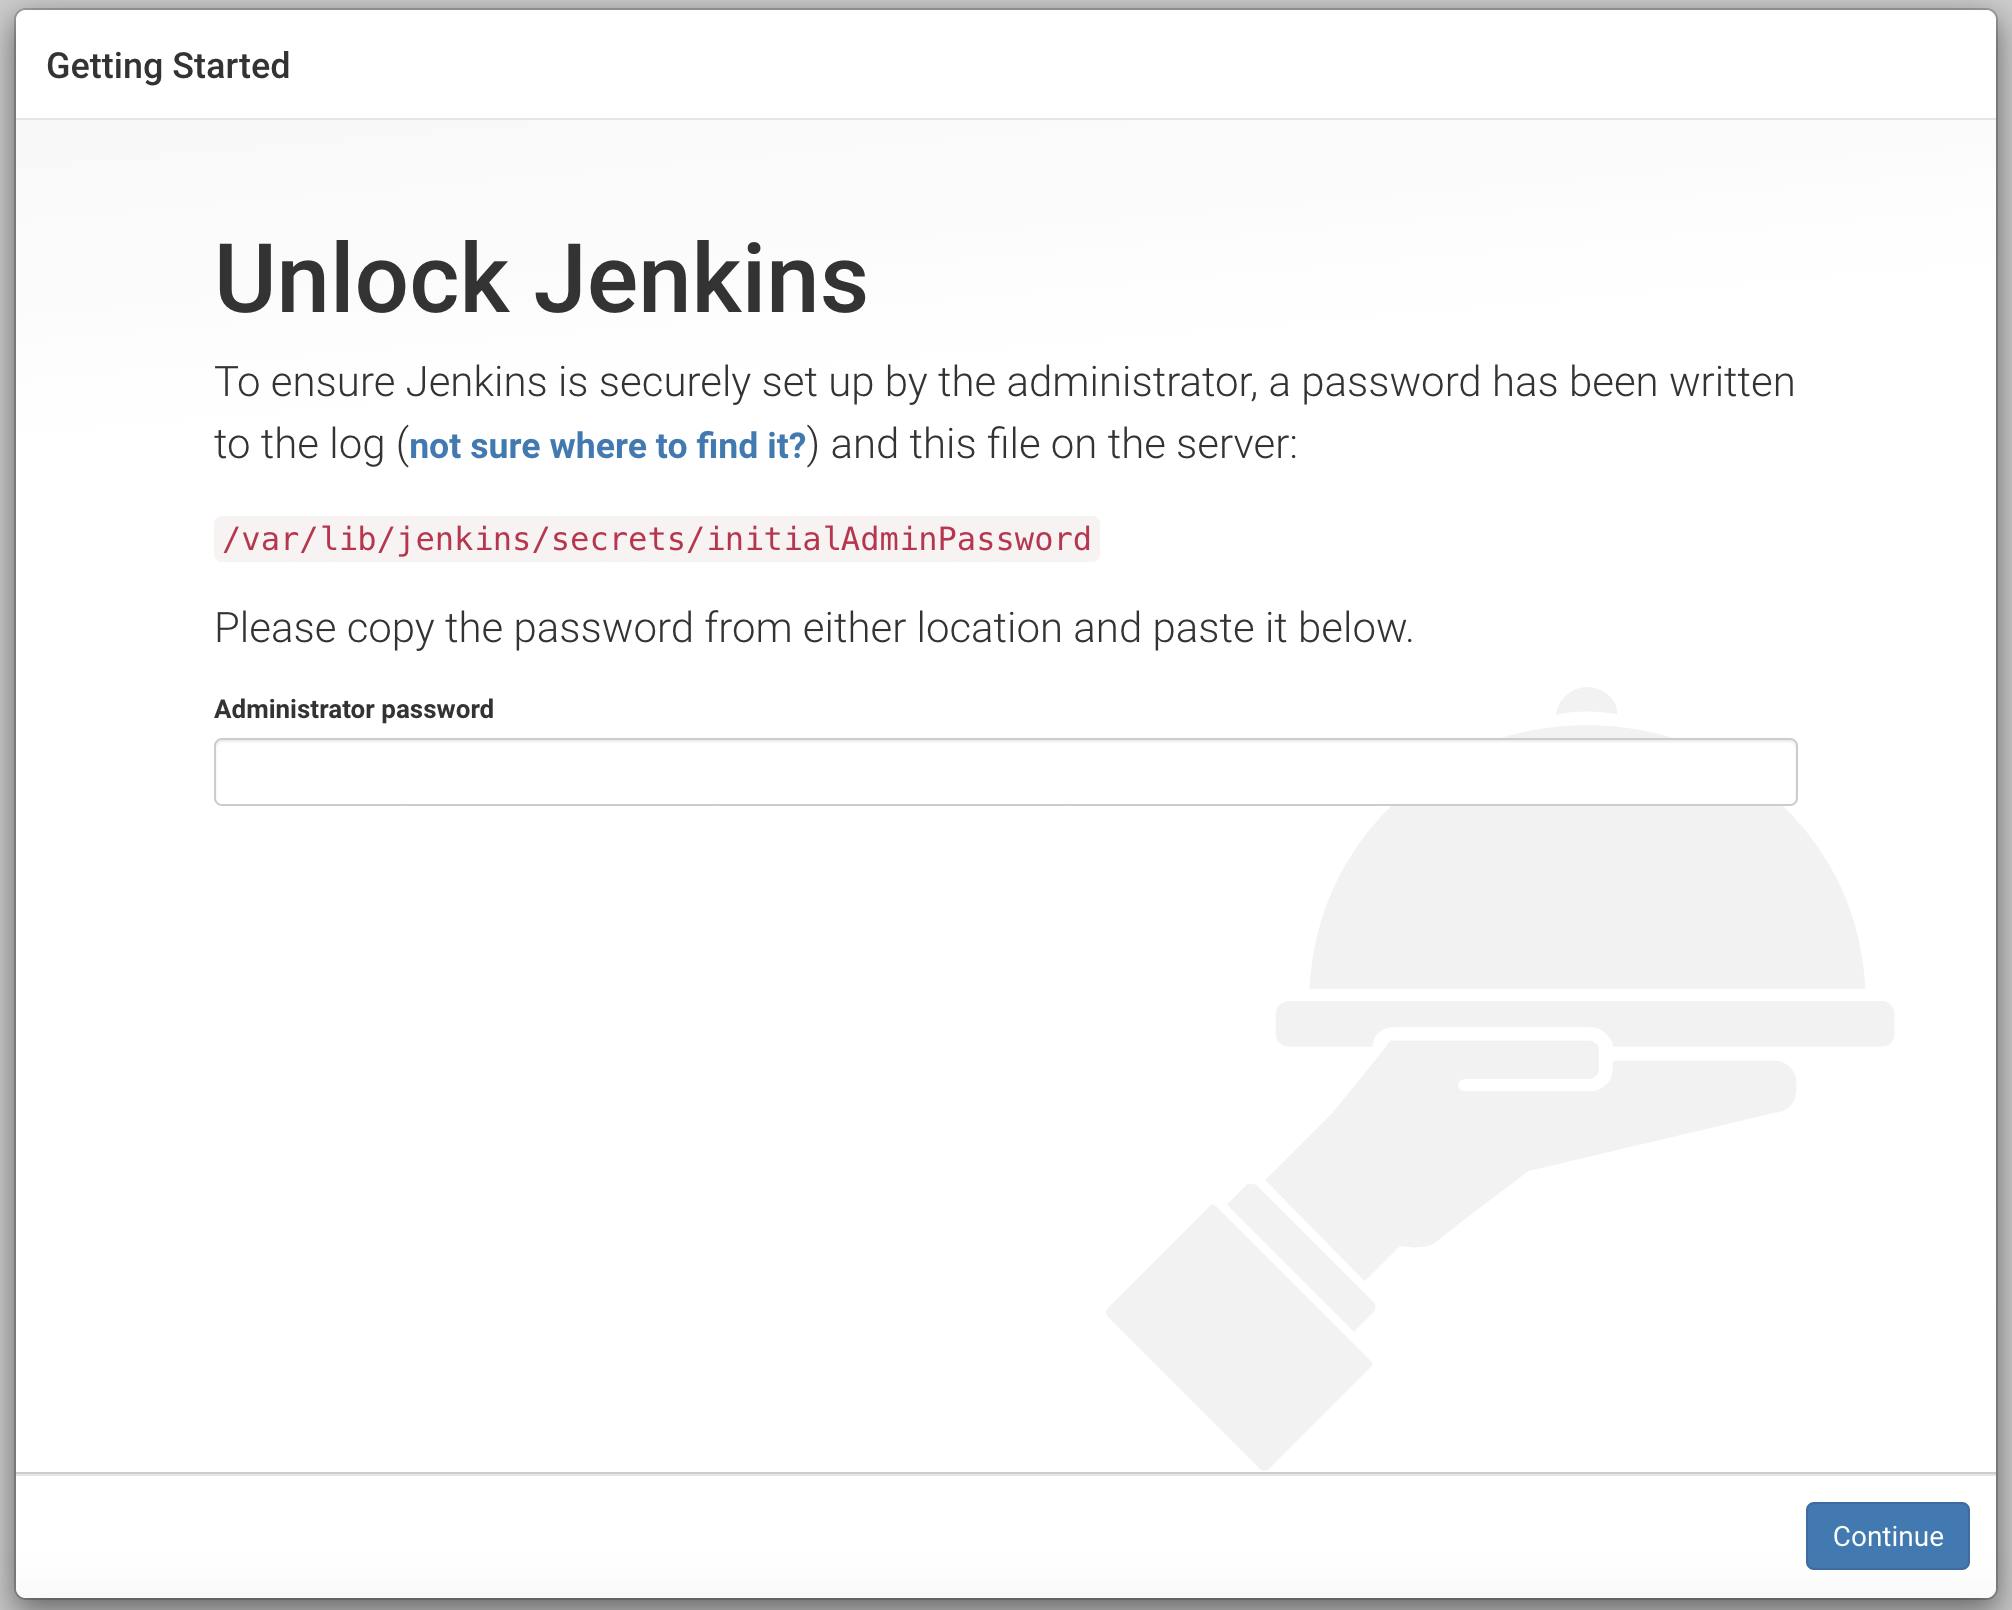
Step 13. Fetch password to Unlock Jenkins. As advised the following command will provide the relevant password
cat /var/lib/jenkins/secrets/initialAdminPassword
Copy the automatically-generated alphanumeric password (between the 2 sets of asterisks). On the Unlock Jenkins page, paste this password into the Administrator password field and click Continue.
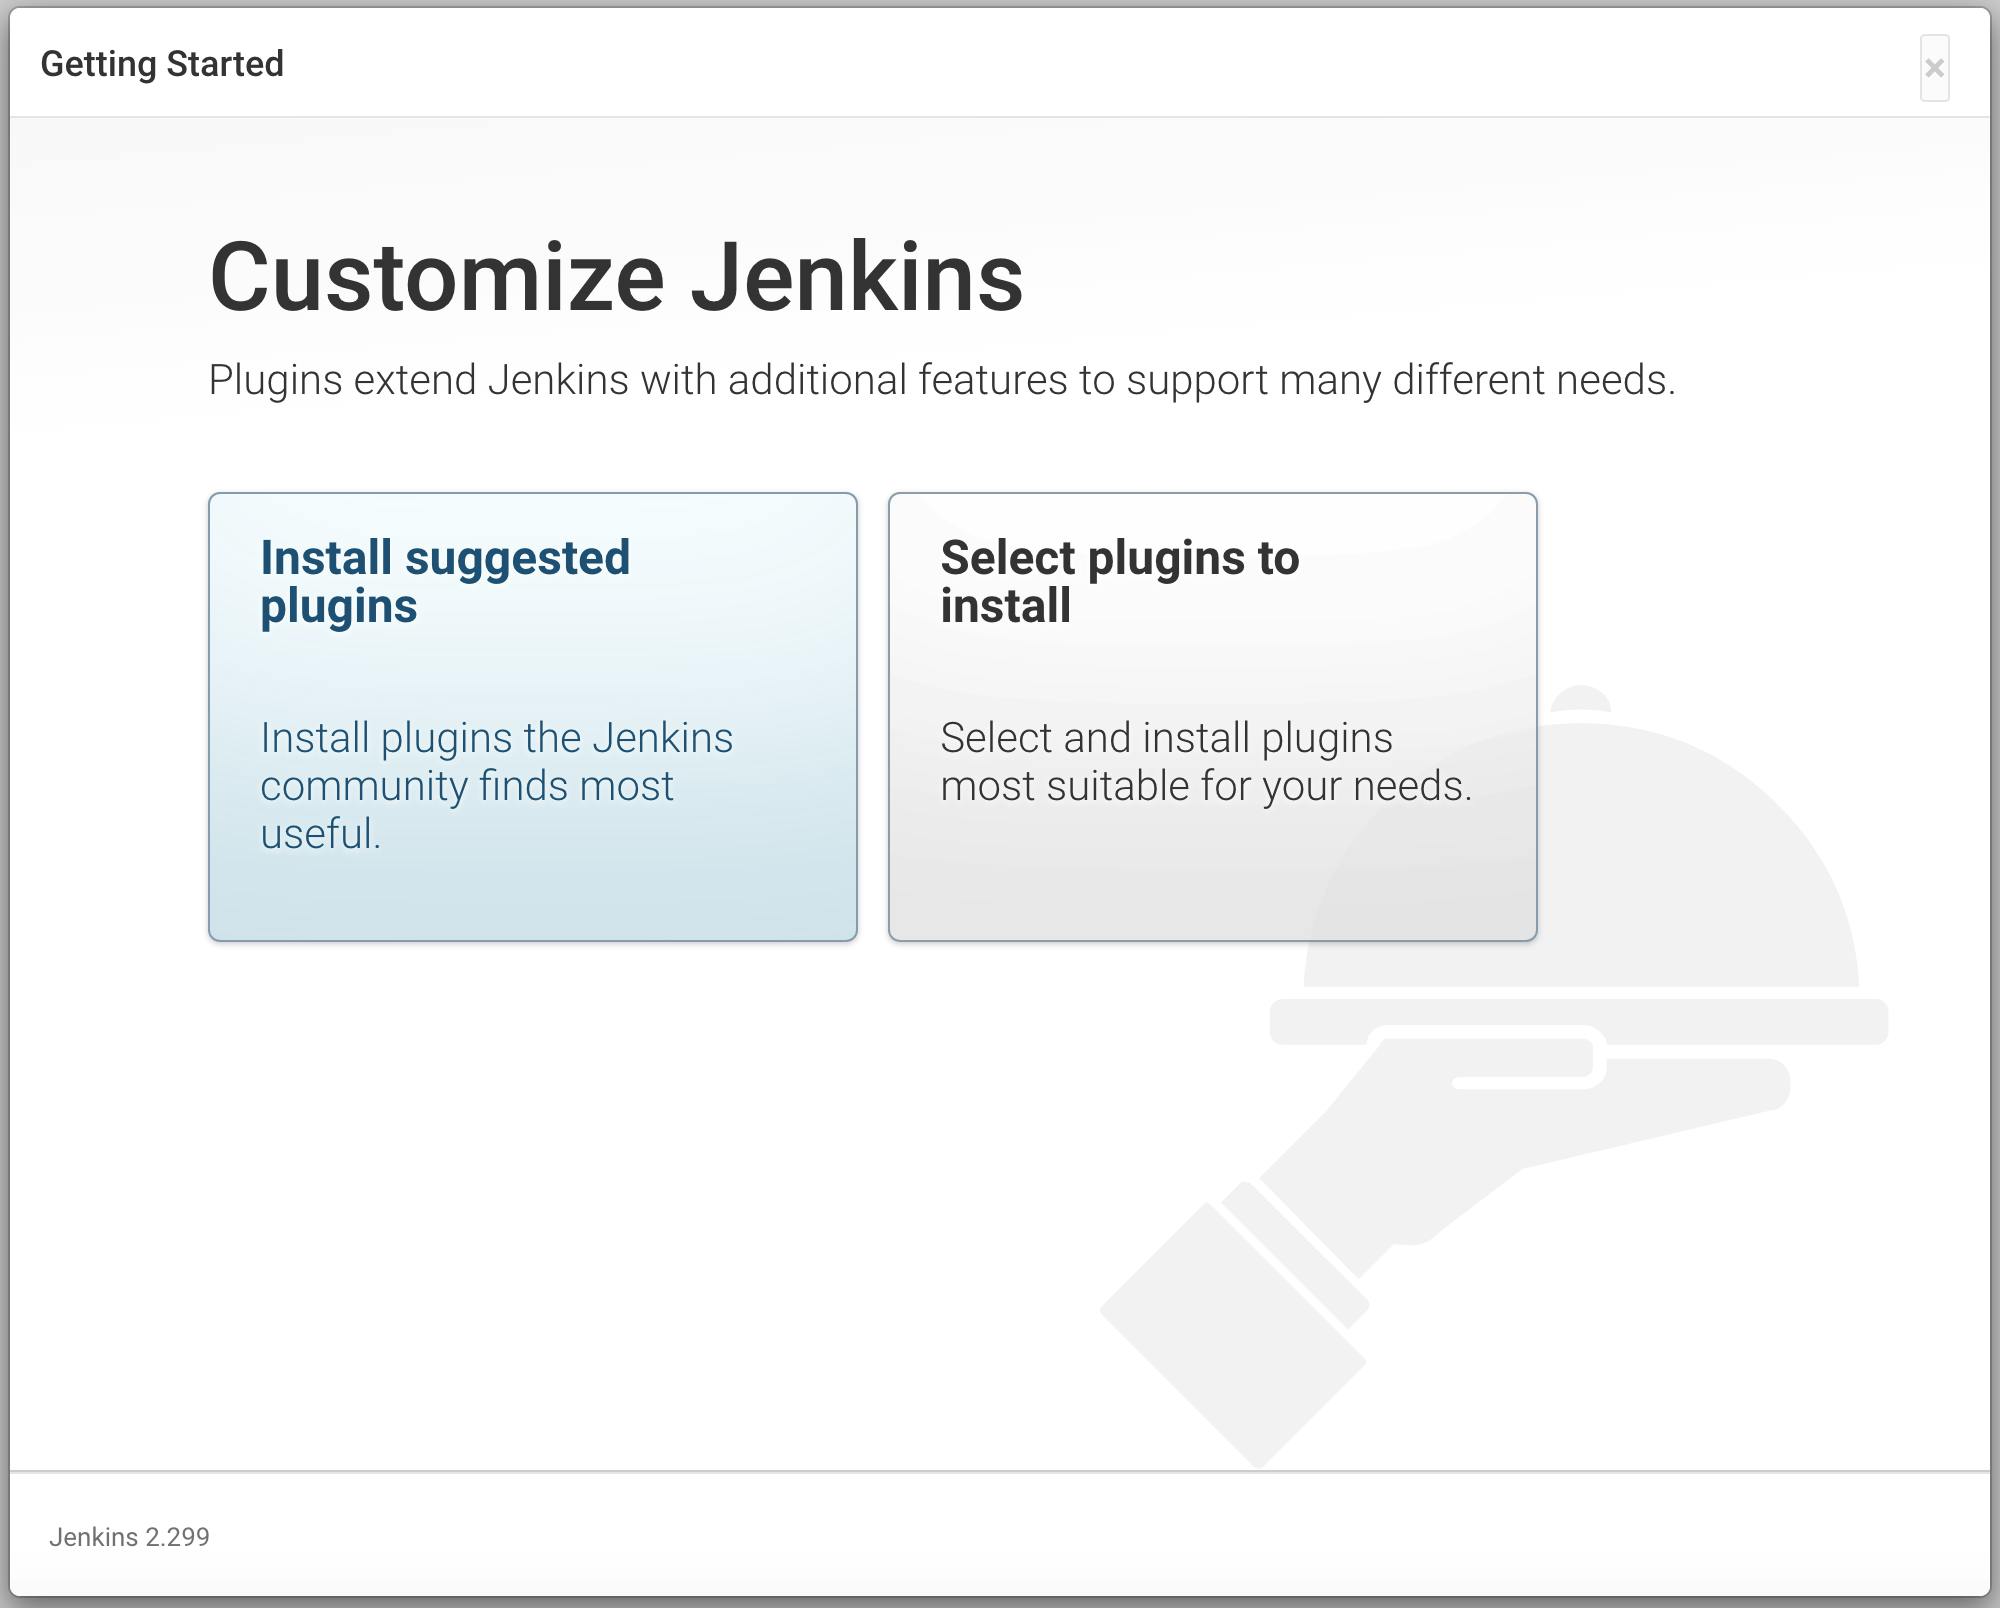
Step 14. Customize Jenkins
Recommended selecting Install suggested plugins to install the recommended set of plugins based on most common use cases.
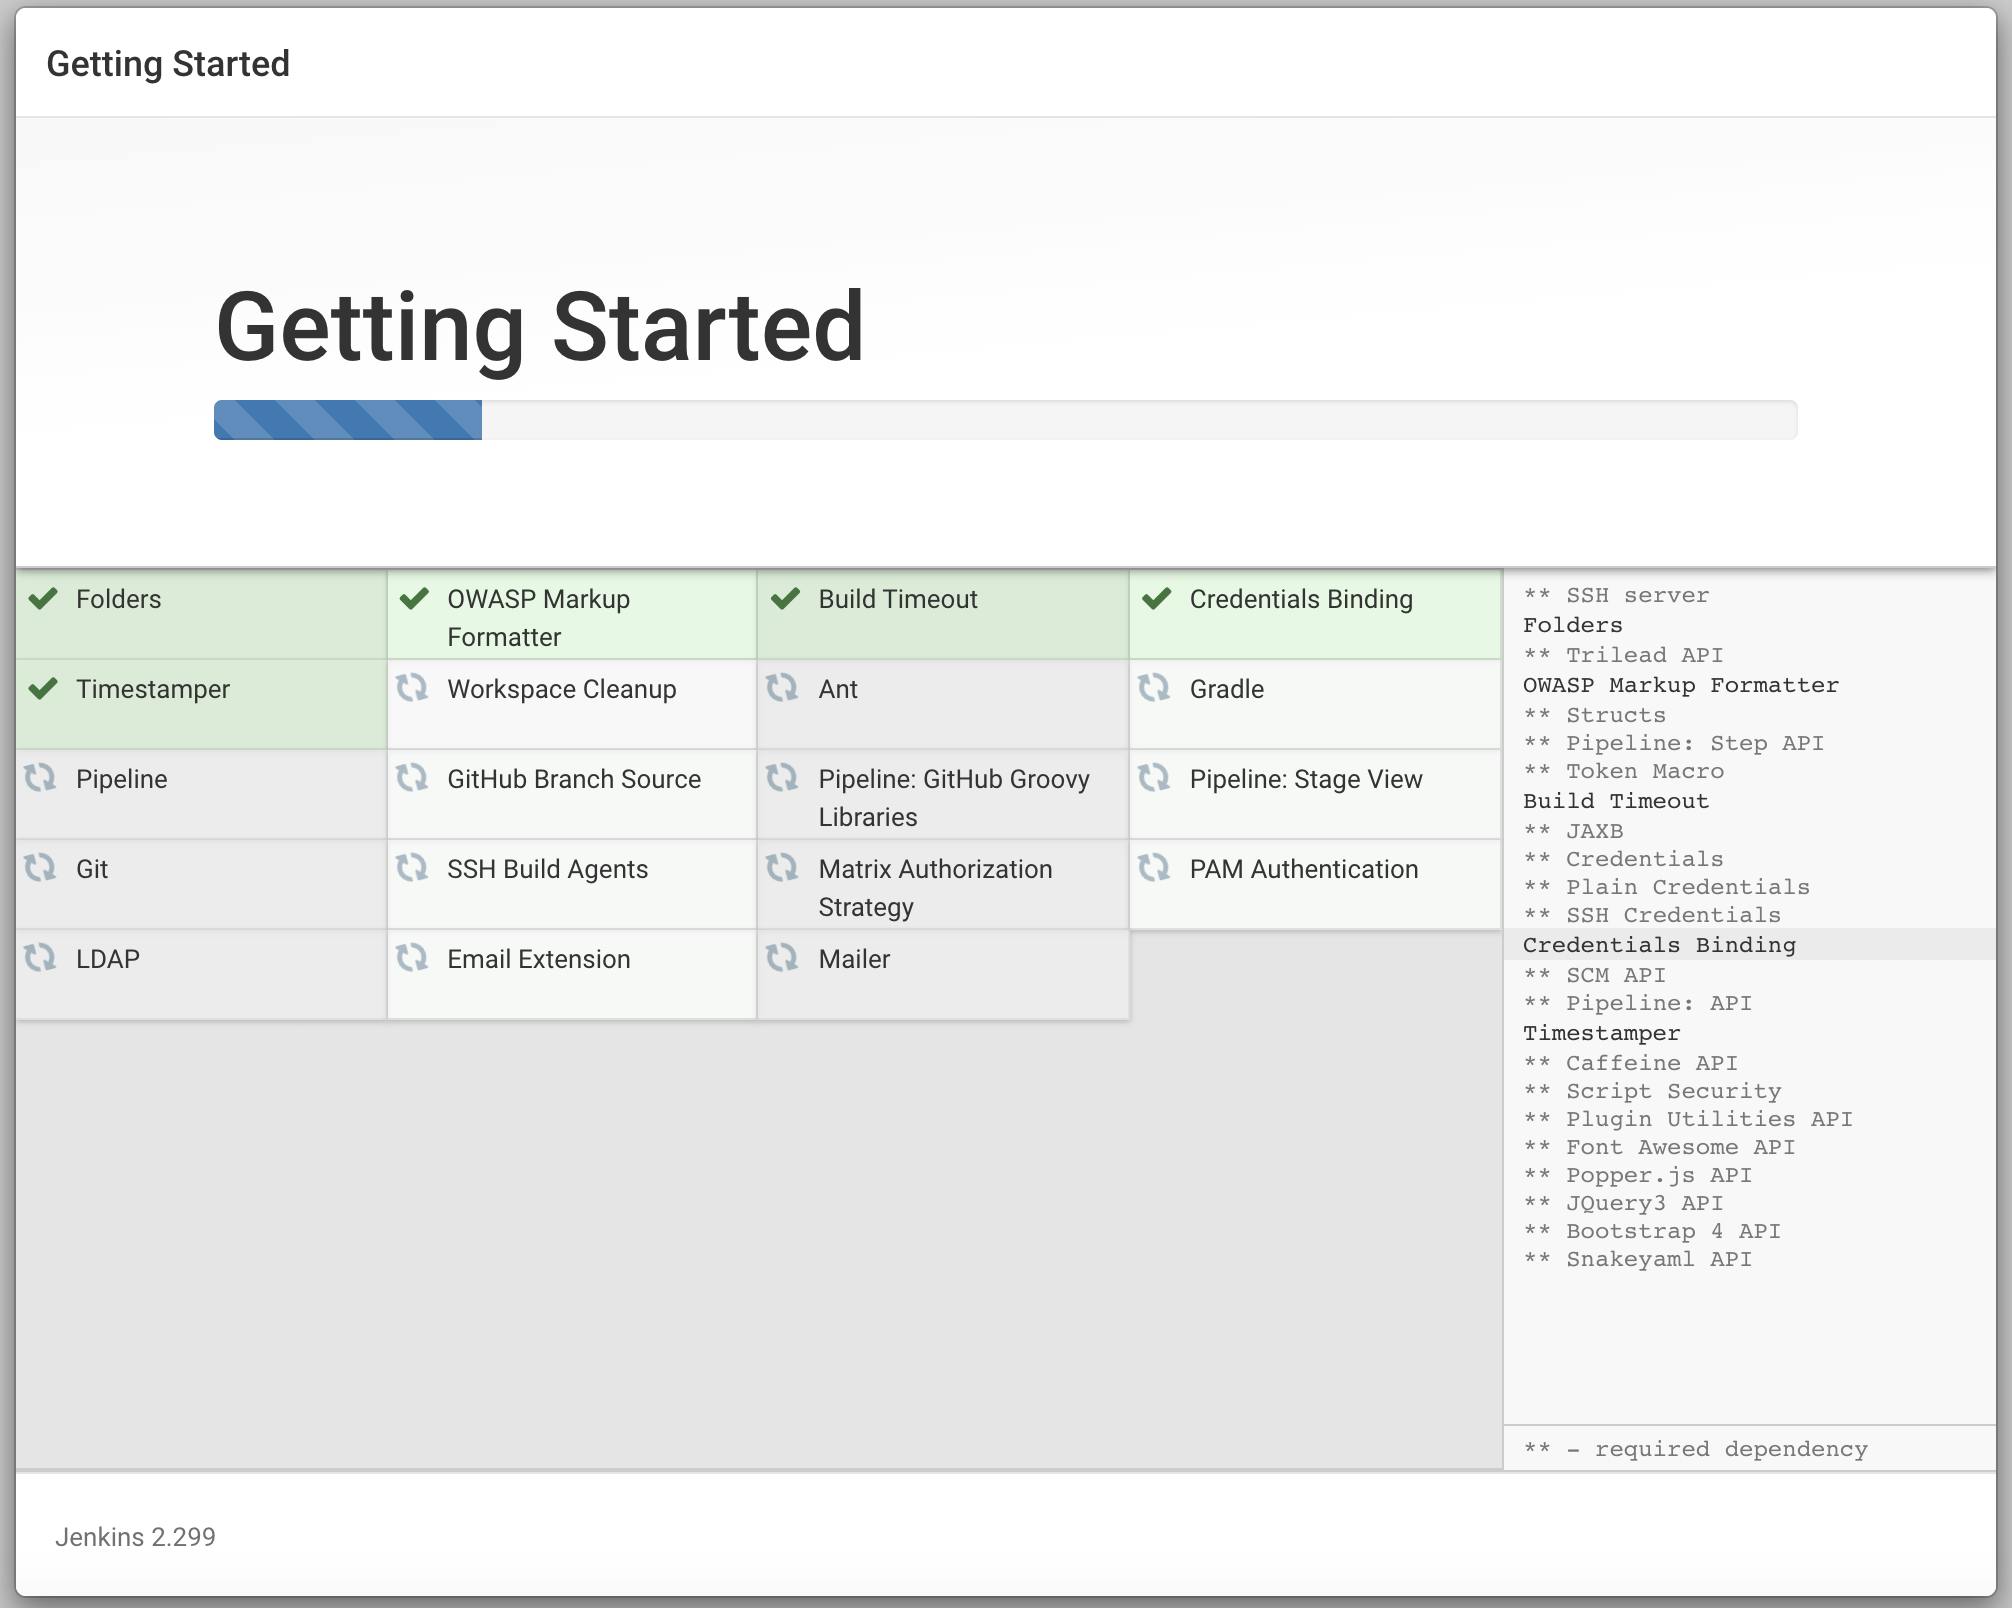
The setup wizard shows the progression of Jenkins plugins being installed
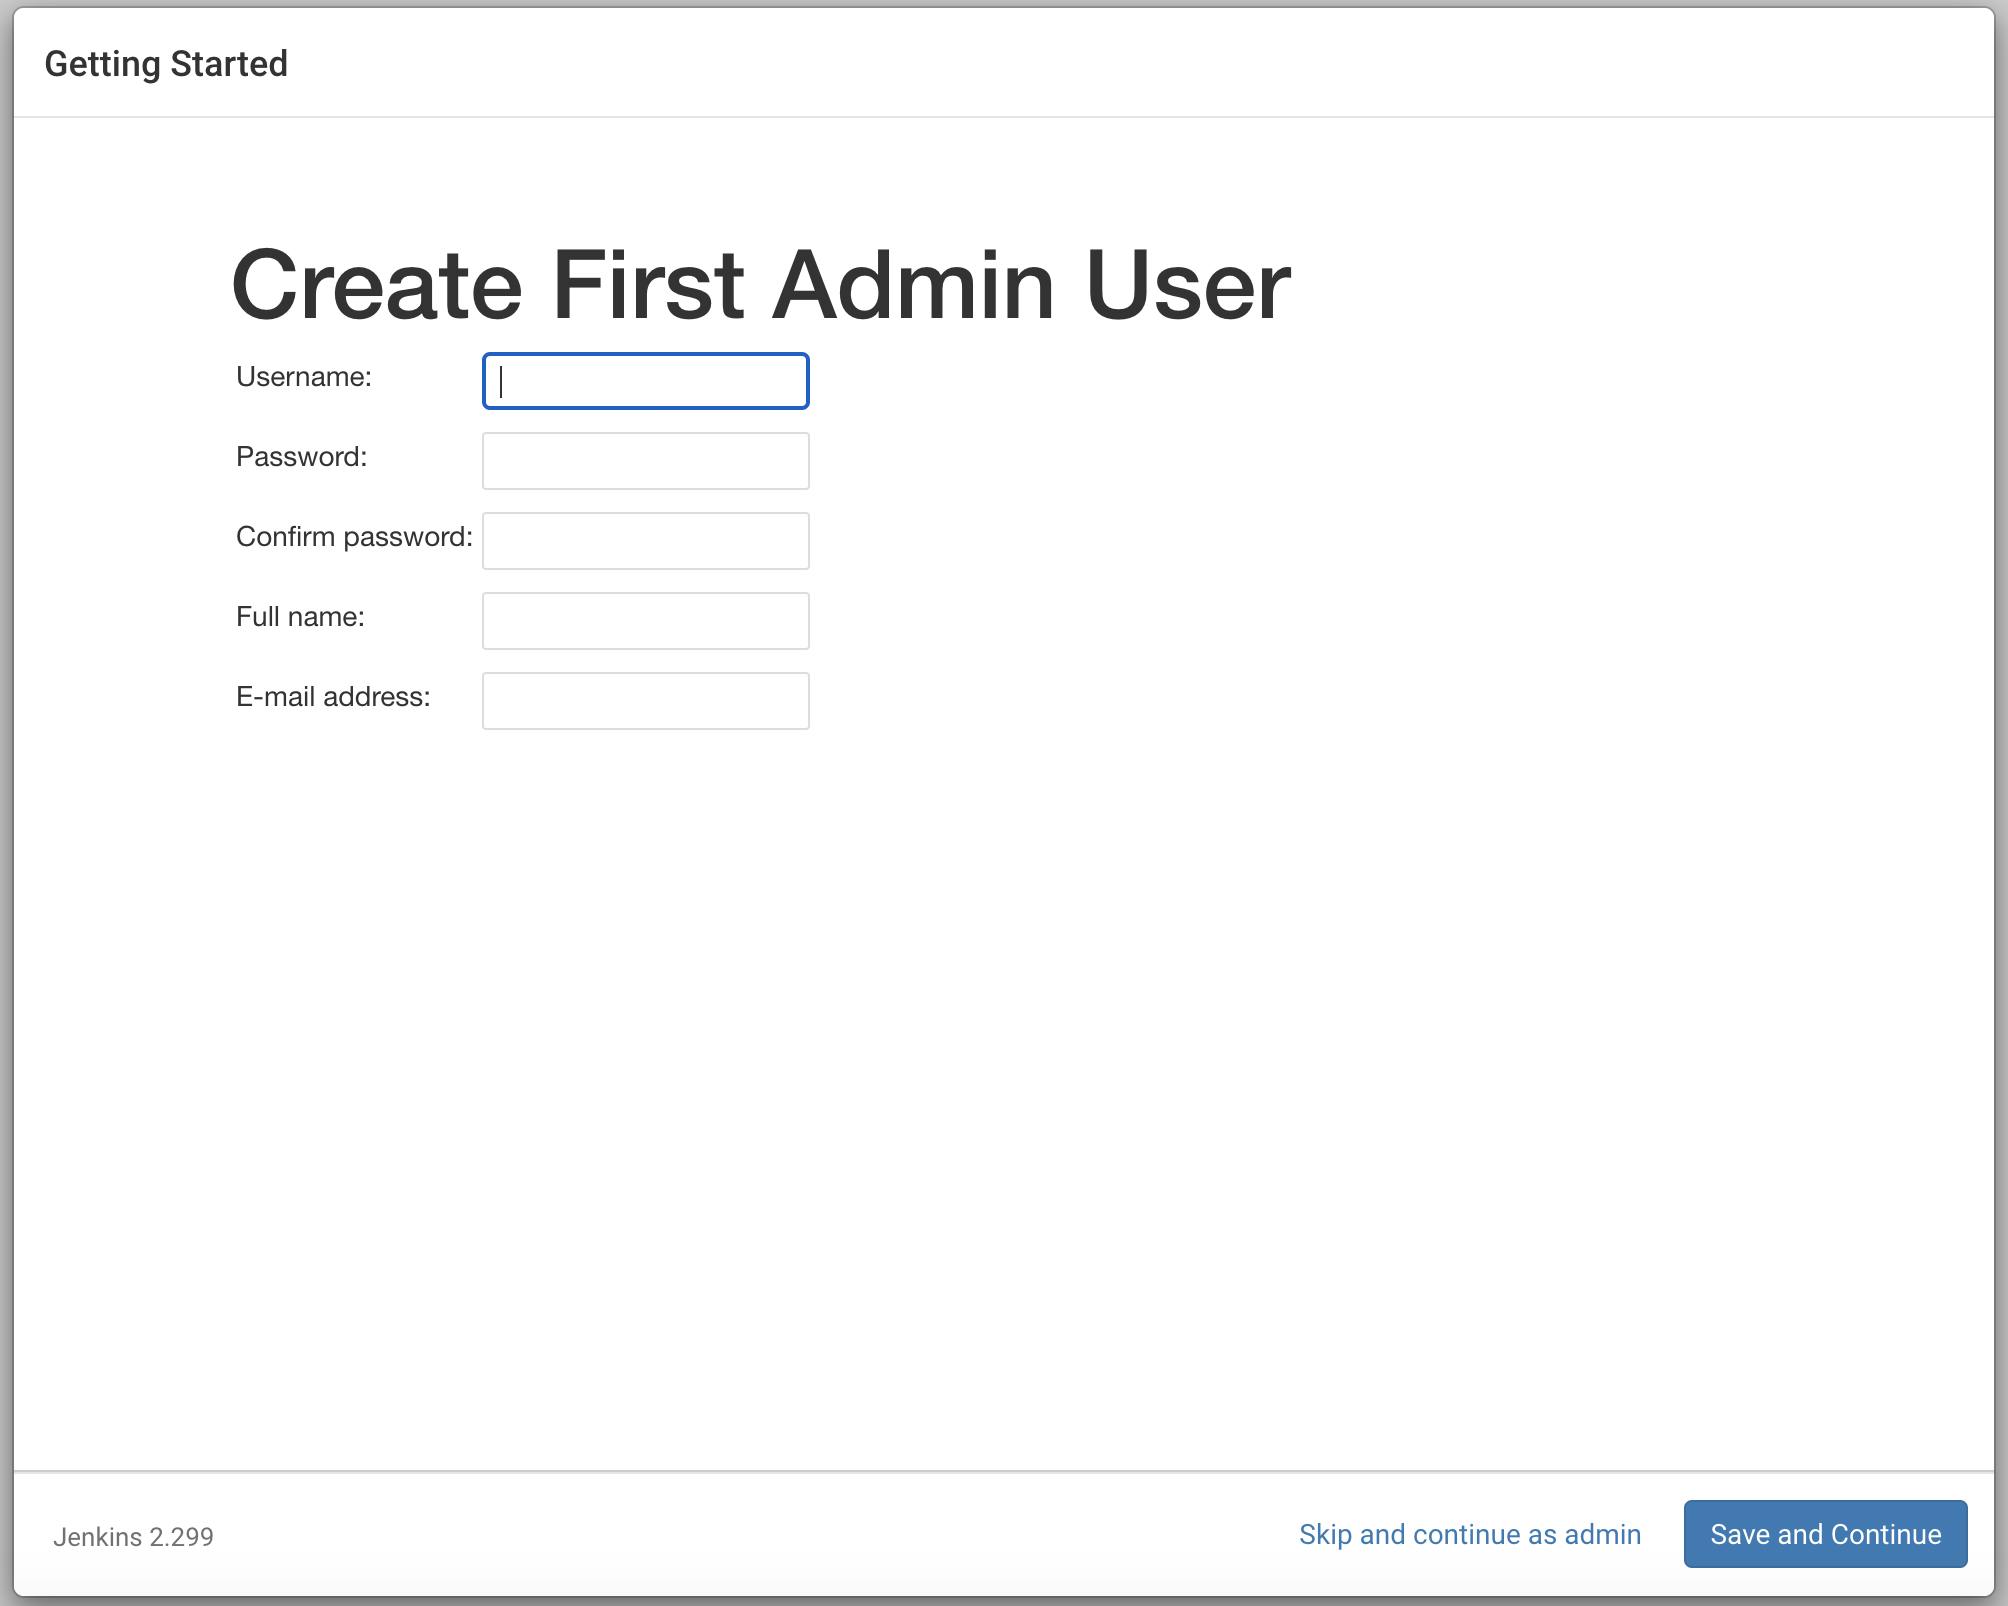
Step 15. Create First Admin User
Enter relevant details to create Admin User and click Continue
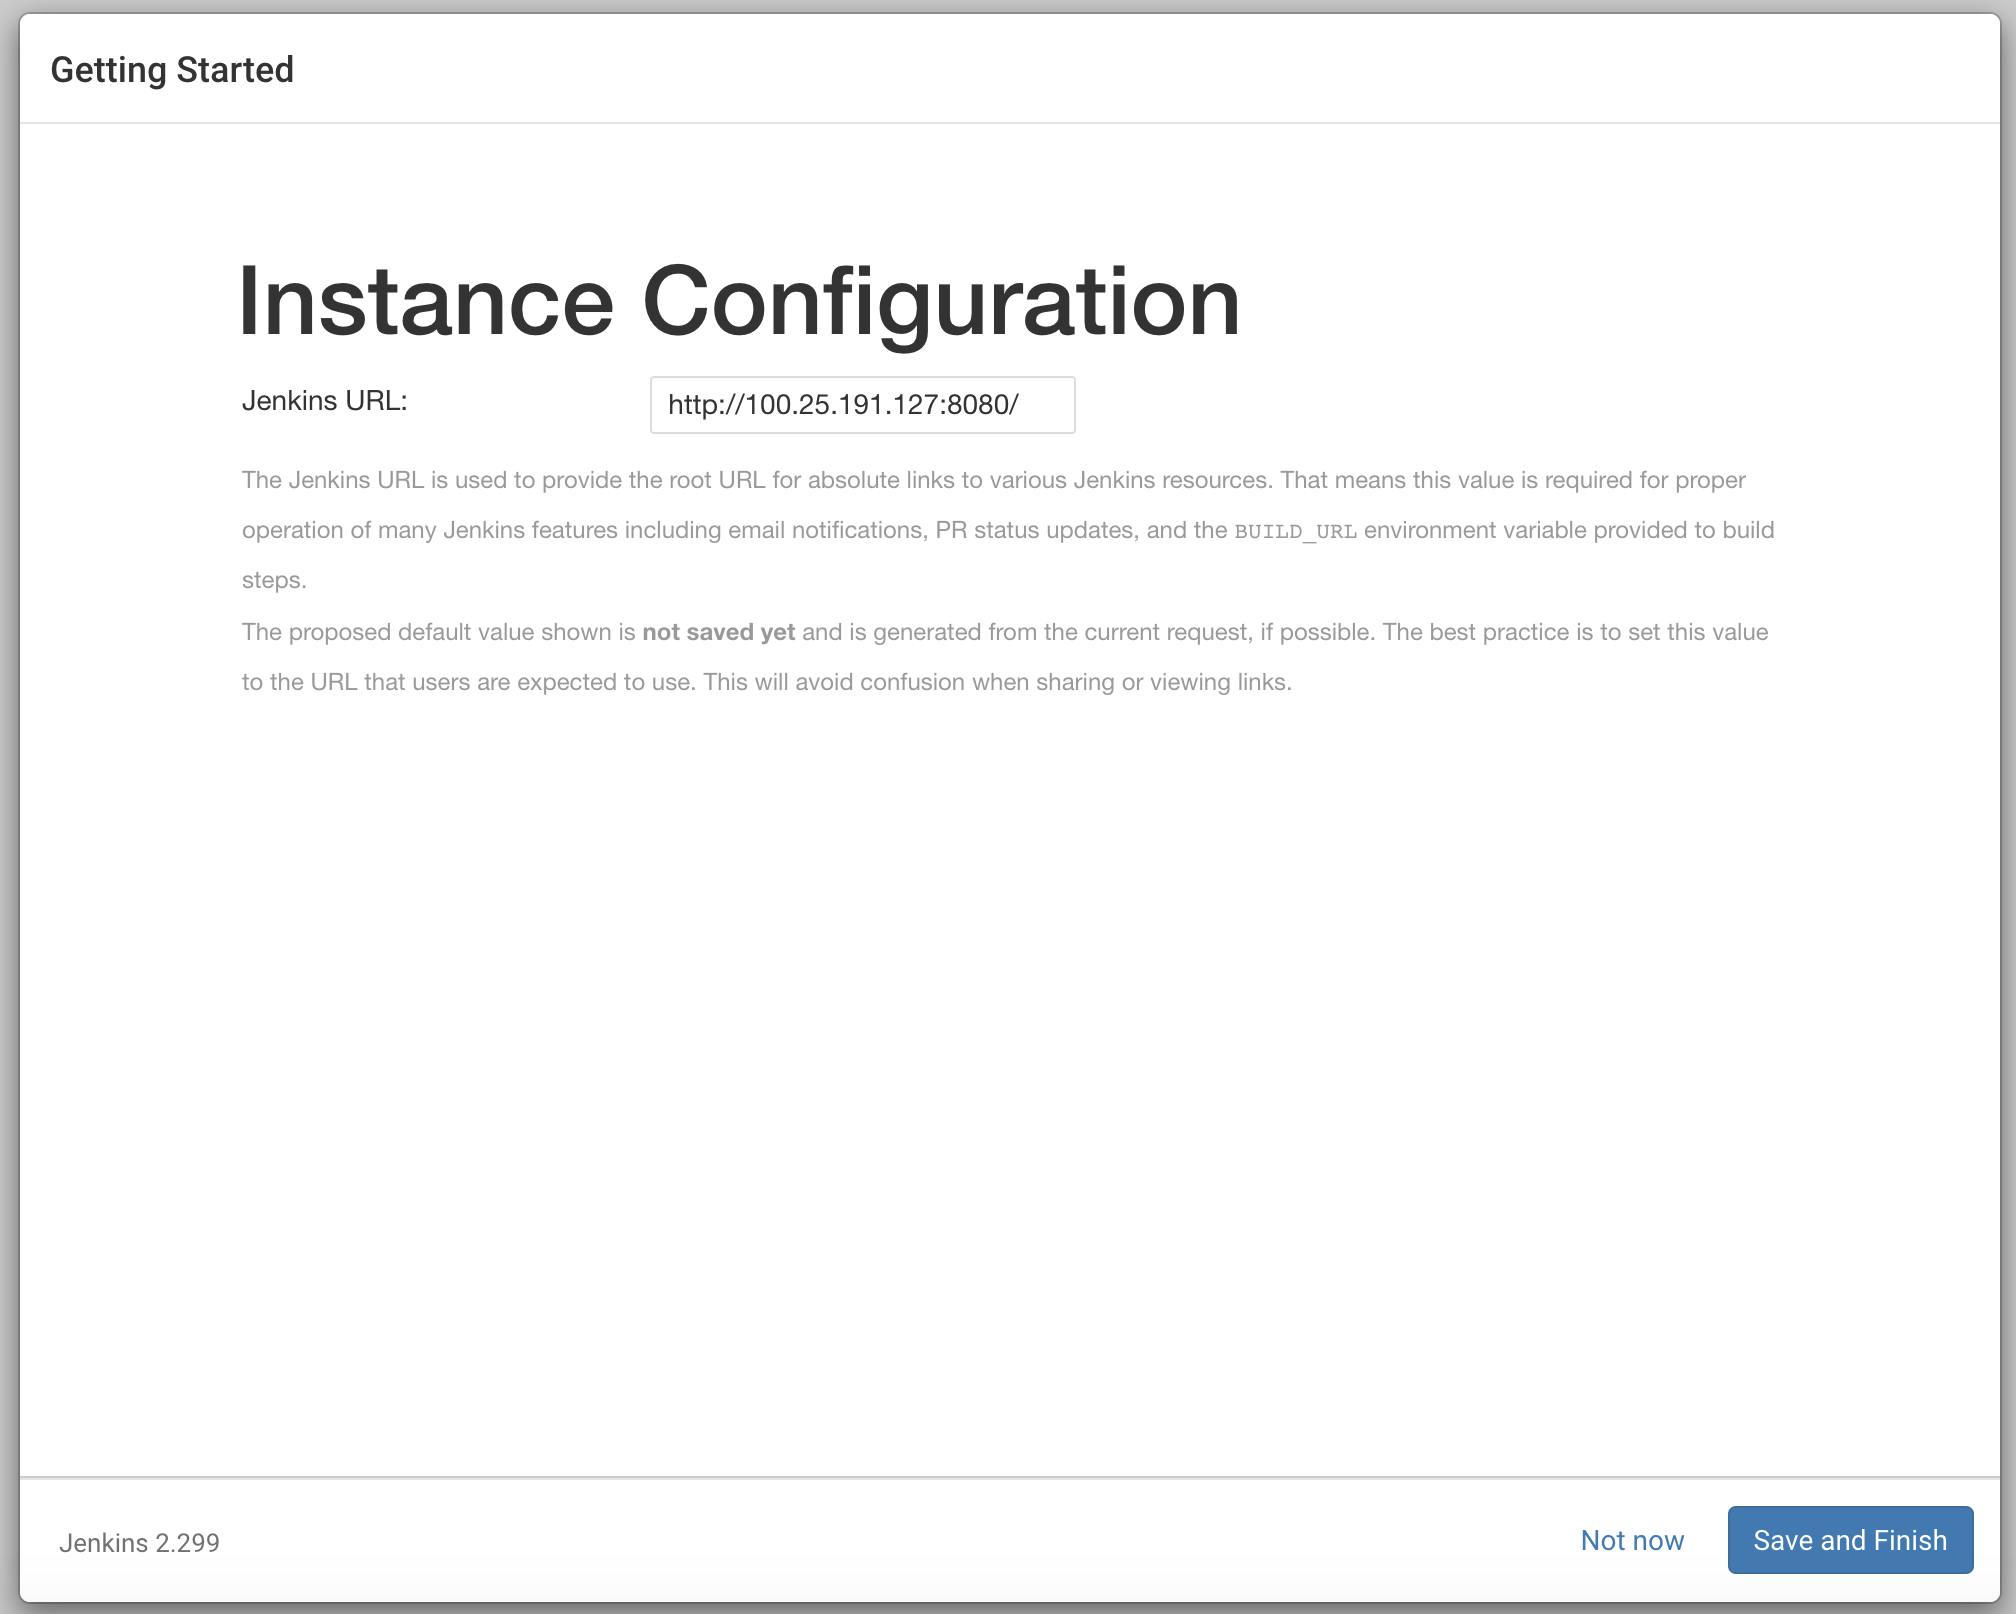
Step 16. Configure Valid DNS (if required) Jenkins Instance access URL will be printed on the screen that follows. This can be changed with a valid DNS name. For the purpose of our demo, we will leave it unchanged and click Save and Finish
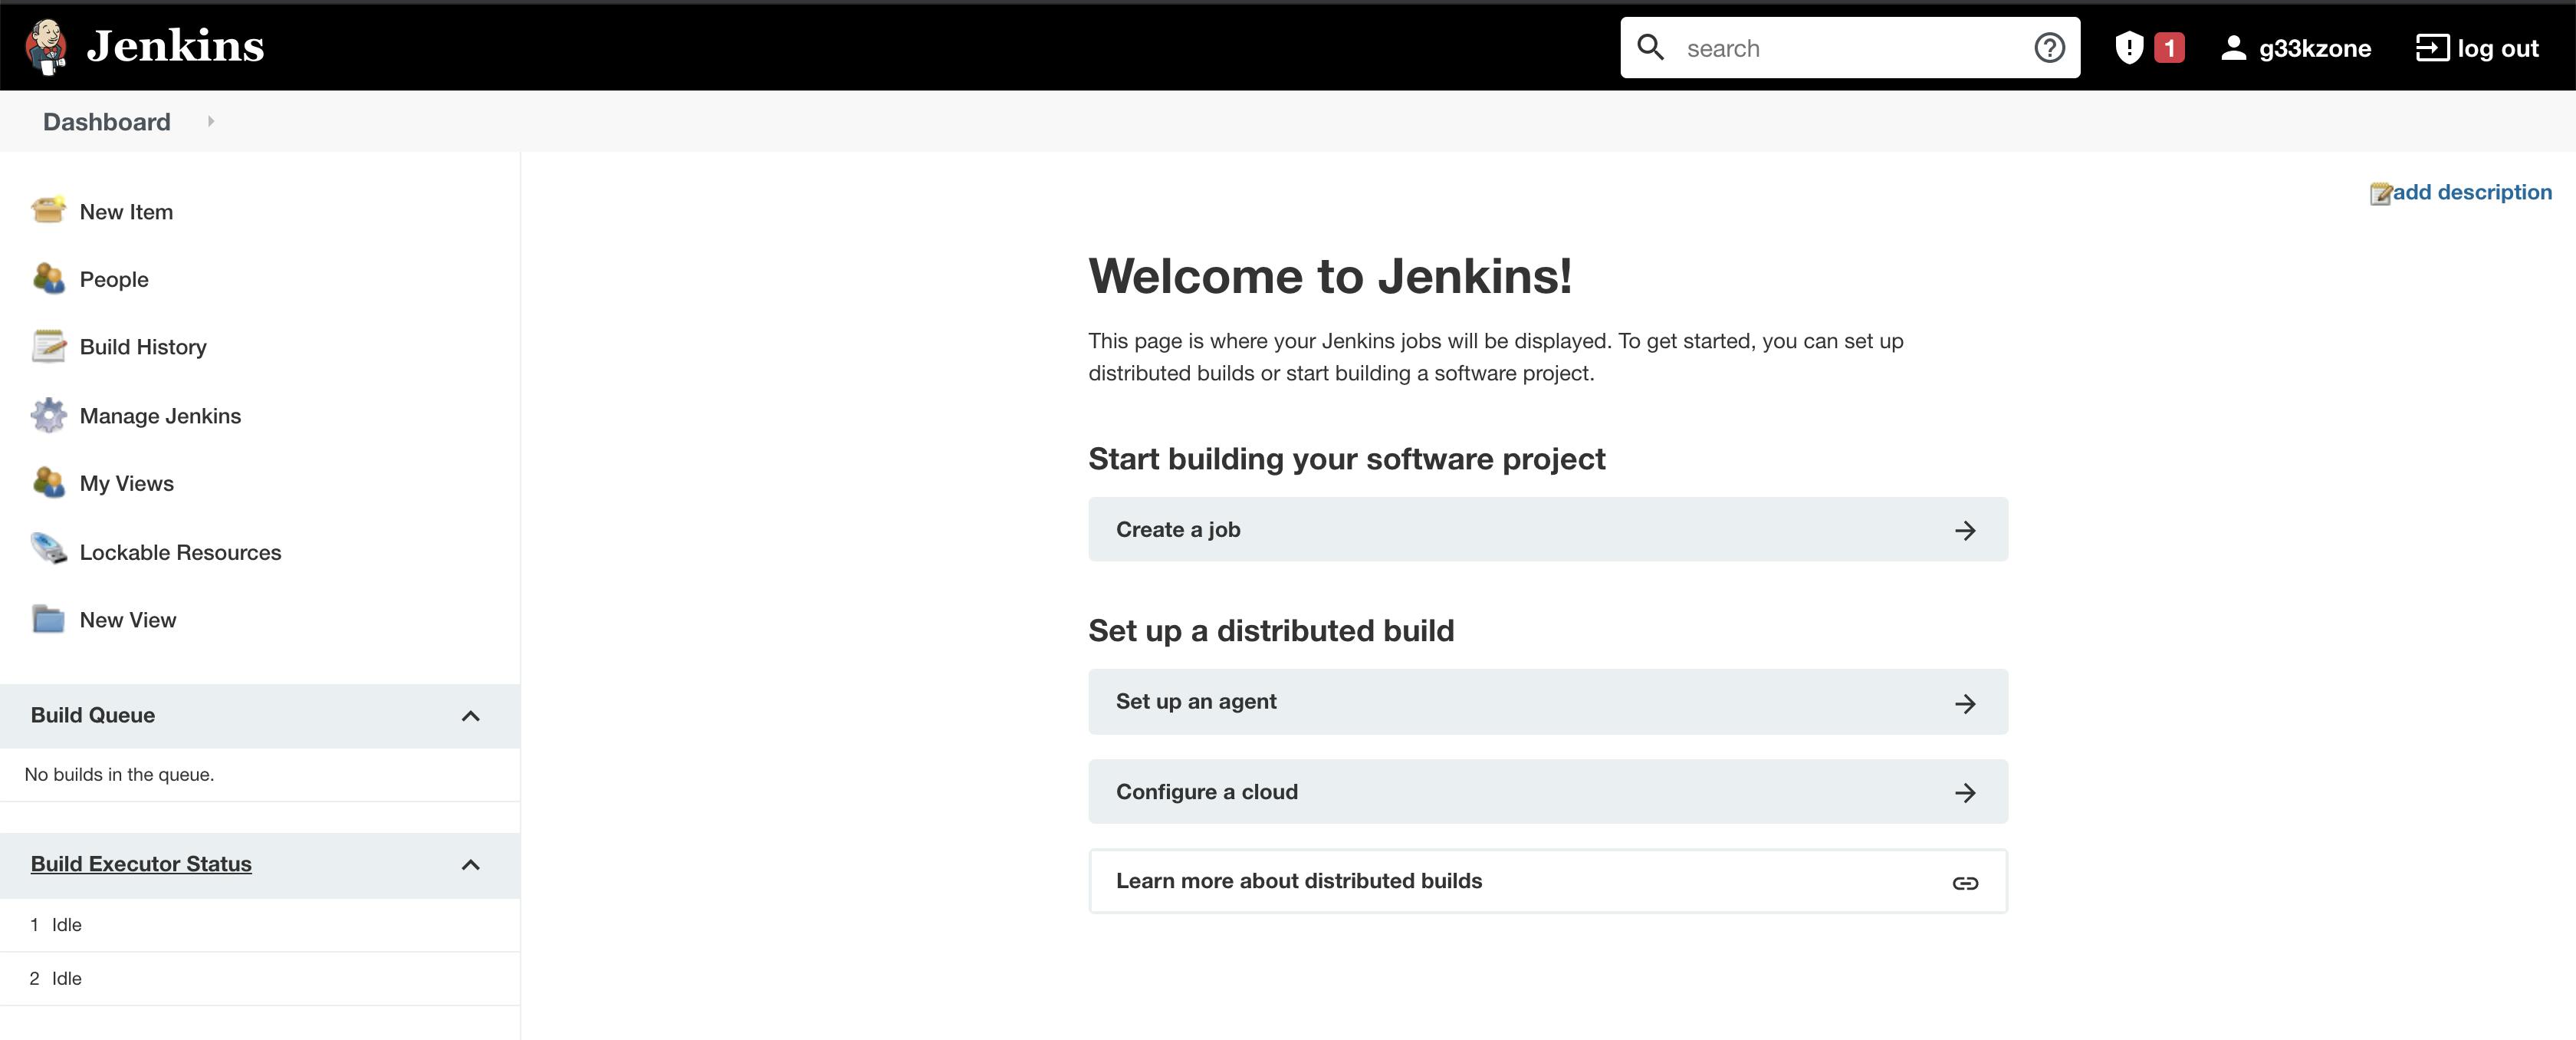
Step 17. Jenkins is ready, Hurray!! You have now successfully configured Jenkins.

Jenkins Dashboard