This post helps creates AWS IAM Users with programmatic access. Once the setup is configured, a pair of Access Key ID & Secret Key will be available. This set of keys will eventually help us configure AWS CLI ver 2.0.
The AWS Command Line Interface (AWS CLI) is an open-source tool that enables you to interact with AWS services using commands in your command-line shell. With minimal configuration, the AWS CLI enables you to start running commands that implement functionality equivalent to that provided by the browser-based AWS Management Console from the command prompt in your terminal program. The AWS CLI also provides direct access to the public APIs of AWS services.
Create IAM User
Login to AWS Console and navigate to the IAM service.
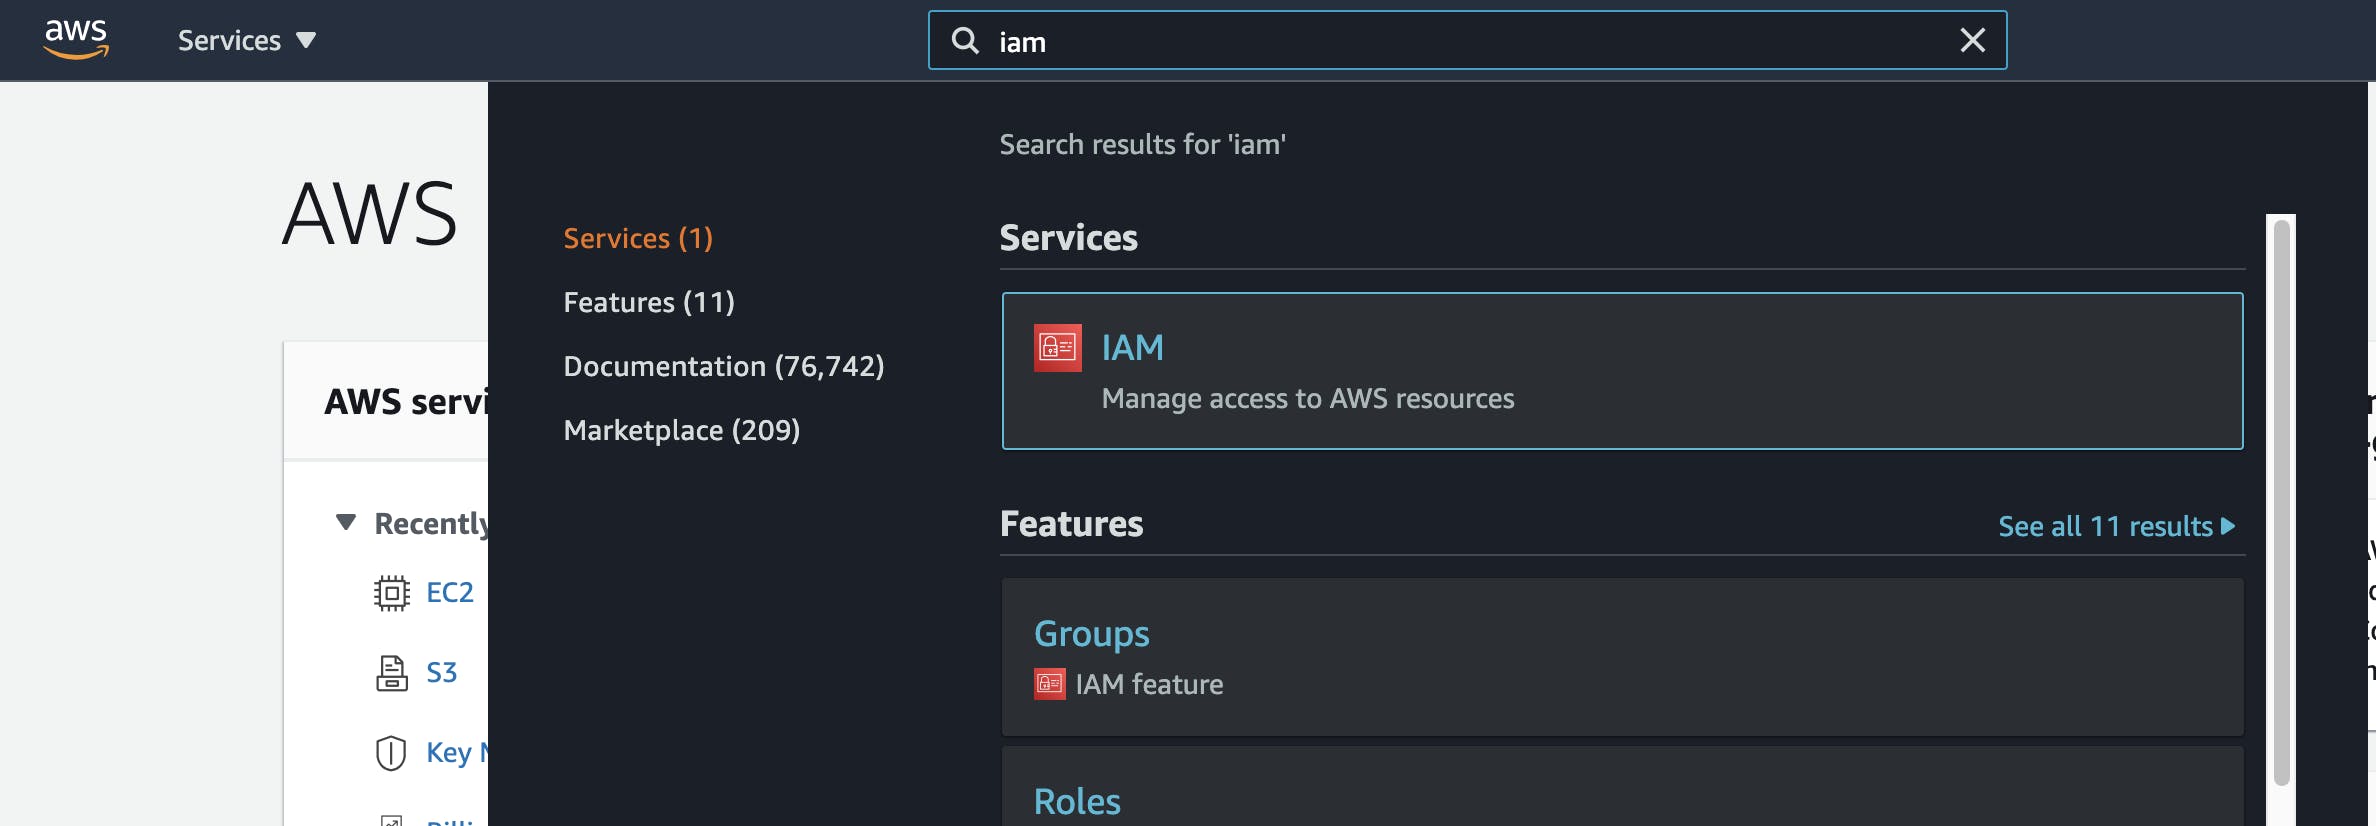
On the IAM Dashboard, Select the Users section and click the Add User button.
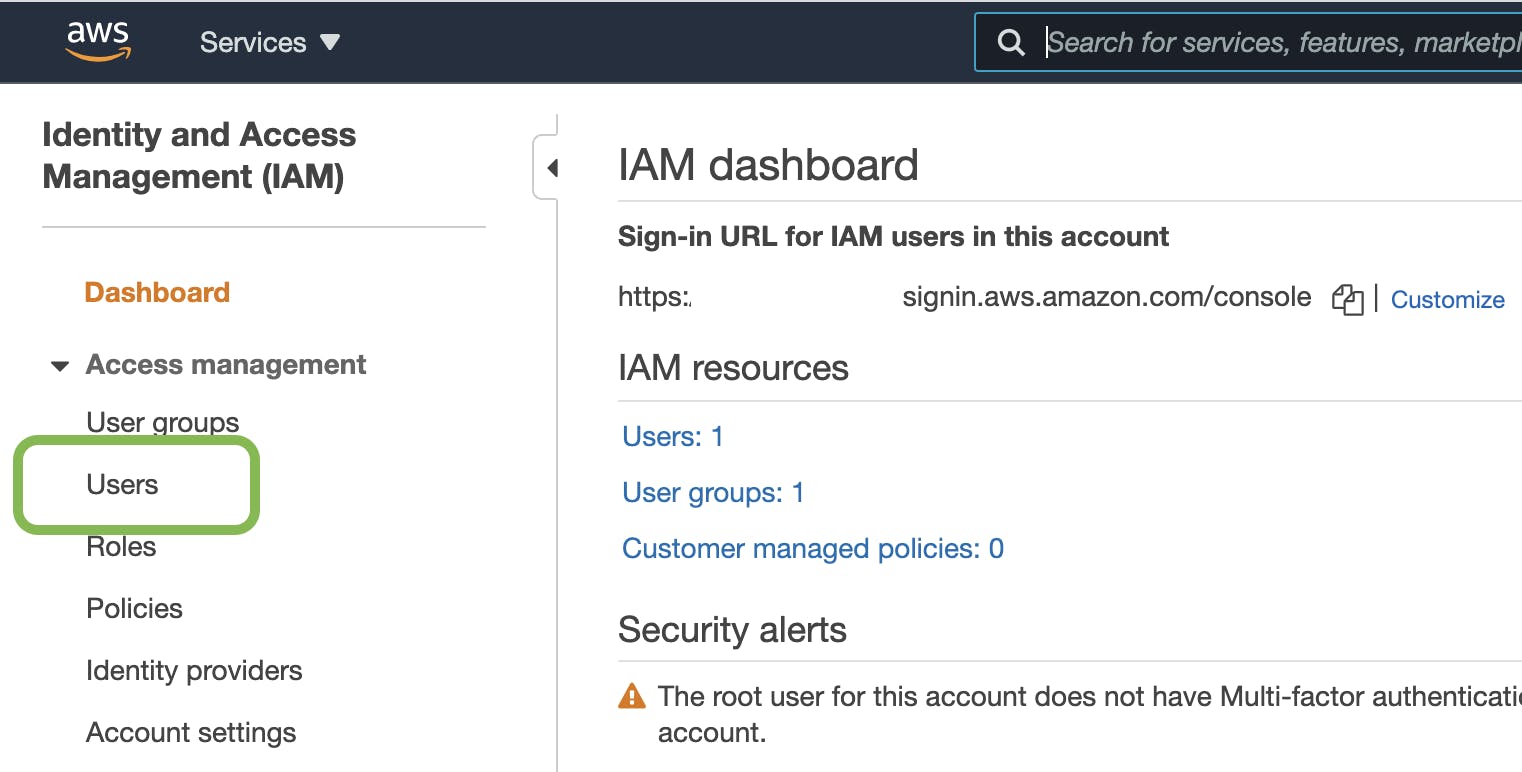
Enter an appropriate user name (for this post, I have created a user with the name demo-user) and enable Programmatic Access. Click the Next: Permissions button.
Now we need to provide a set of relevant permissions to this new user. These permissions will provide the capability to perform certain actions in AWS(e.g. Create EC2 instance, Create IAM Roles / Policies, or even Admin privileges)
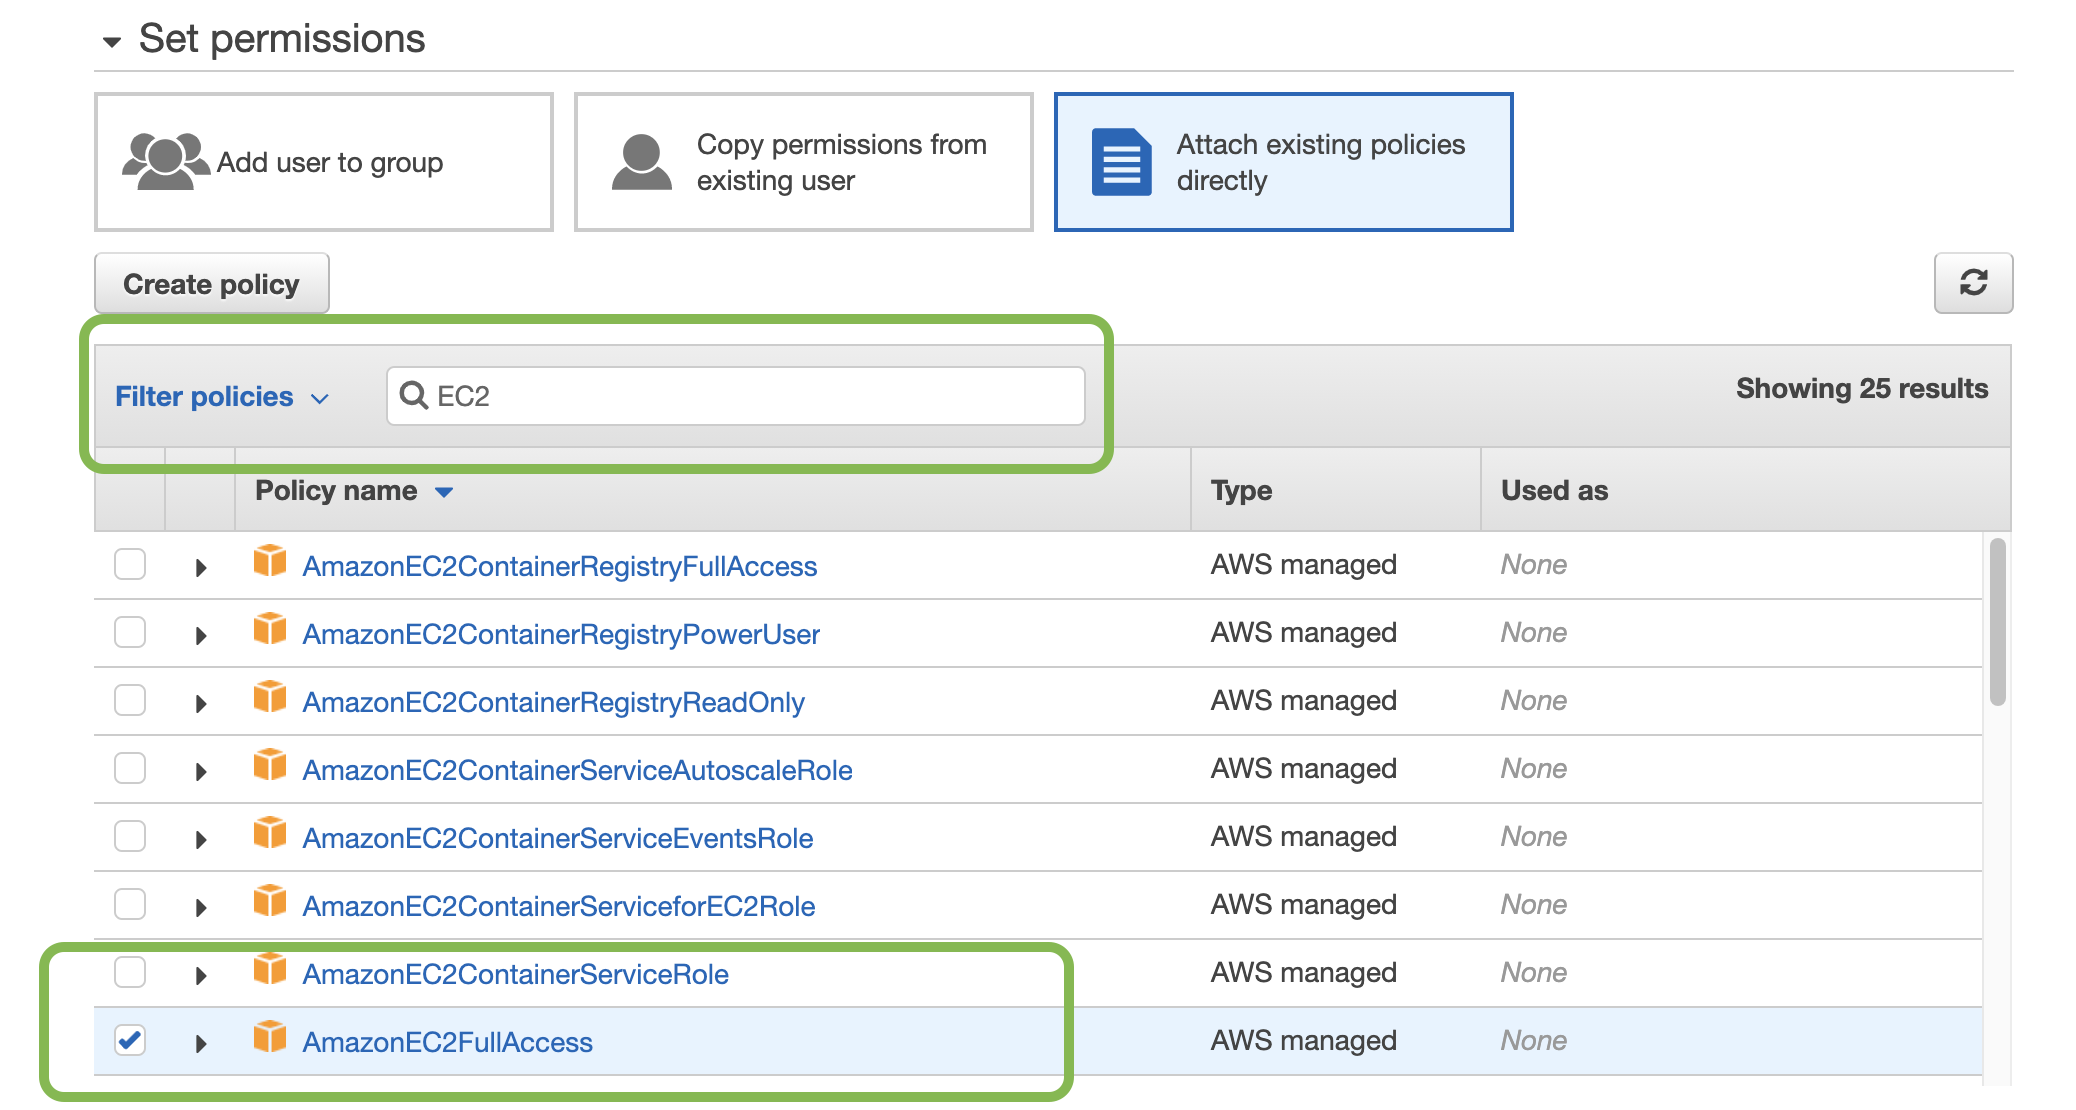
For the sake of this demo, we will grant EC2 Full Access to our user demo-user. Select Attach existing policies directly and provide a filter as EC2. Select Policy name AmazonEC2FullAccess from the list.
Click Next: Tags button. For this demo, we will skip this section. Click the Next: Review button.
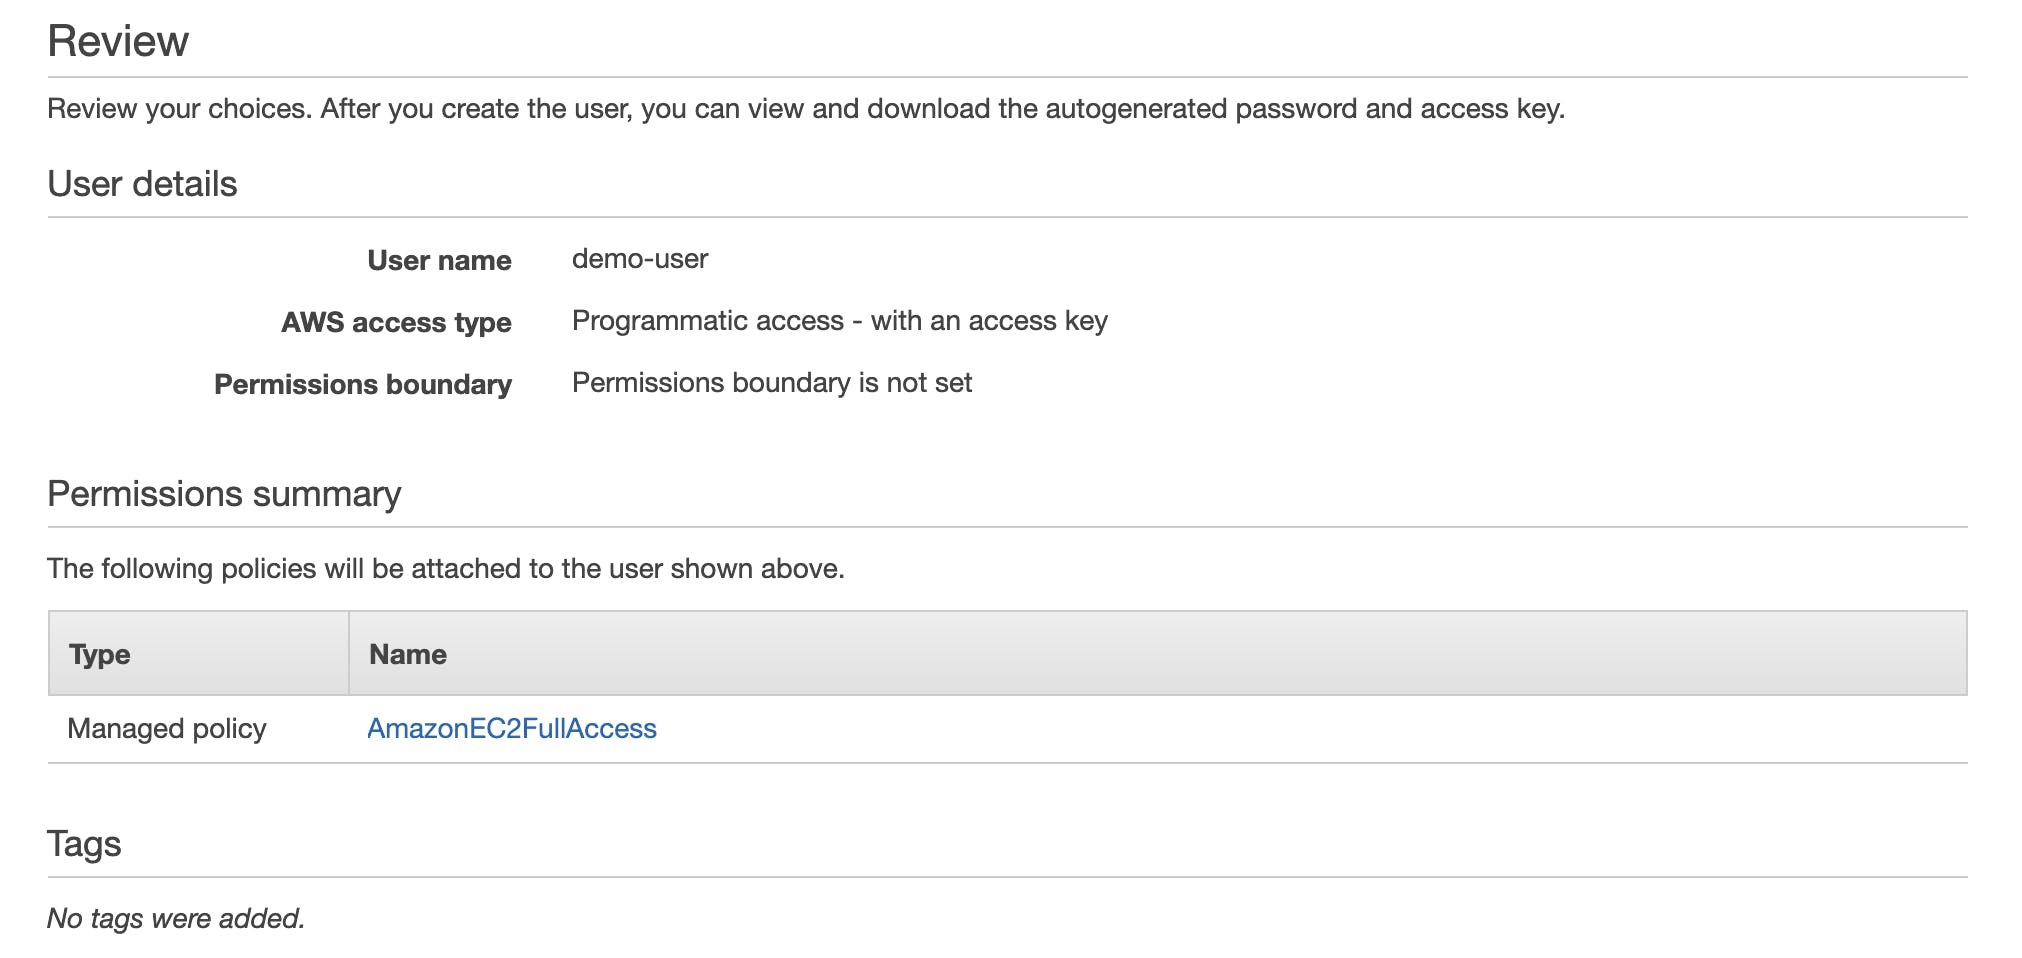
Validate the details and then click the Create user button.
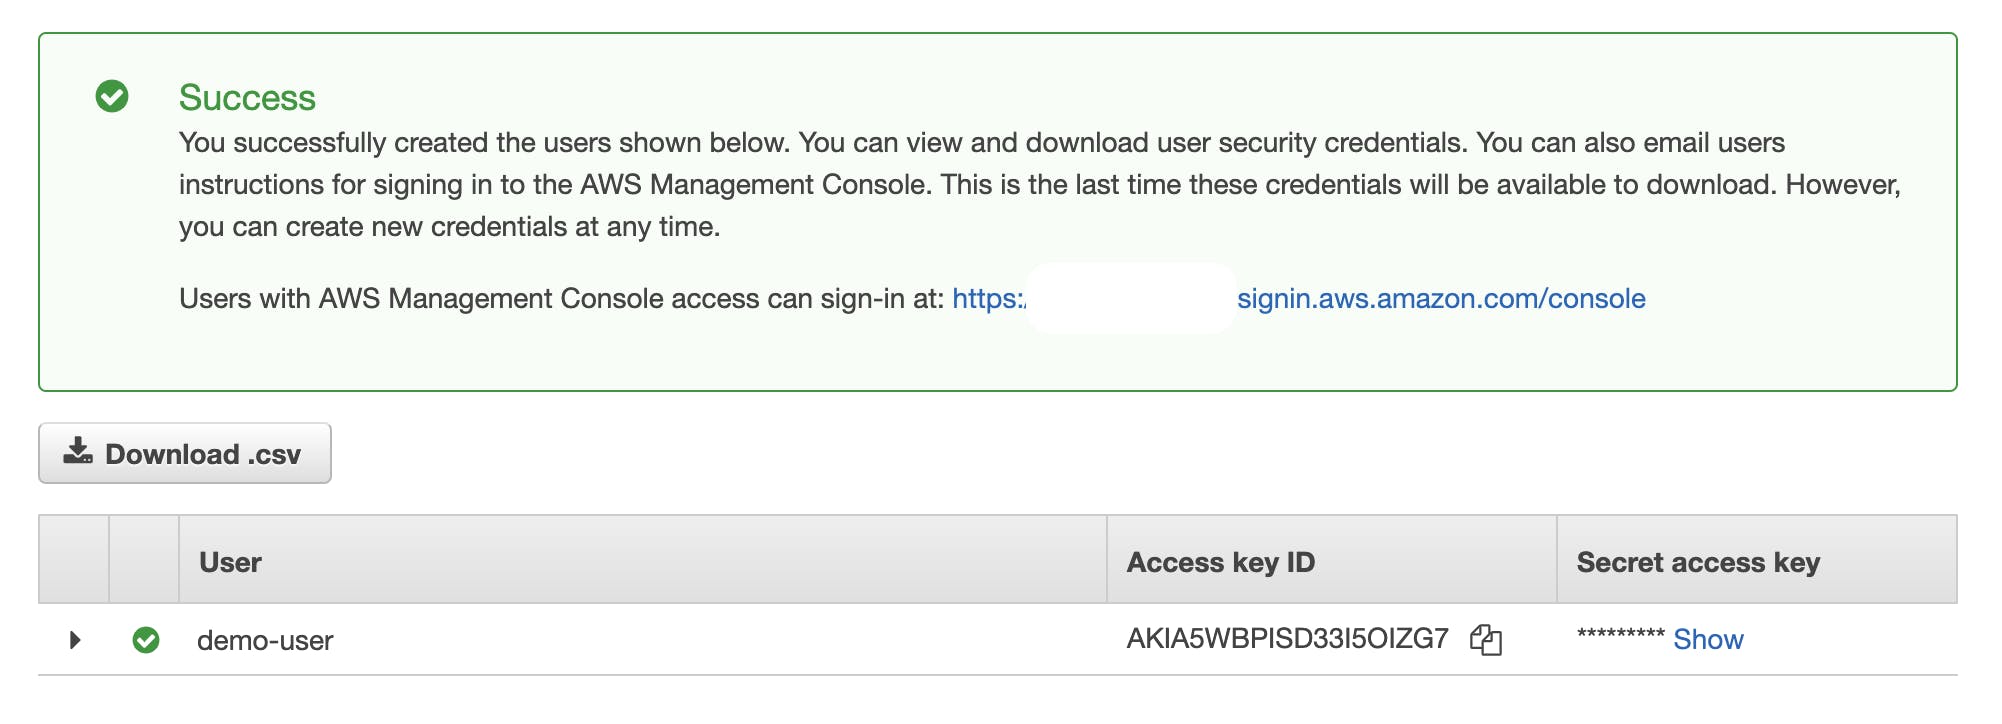
Copy both Access key ID and Secret access key. As the secret key will visible only once, it is advisable to download the .csv file with the credentials.
Configure AWS CLI ver 2.0
Based upon the OS, there are different ways to install AWS CLI.
Post-installation, let us fire the following command on the CLI. This will set up an AWS default profile.
aws configure
We can also create a specific profile.
aws configure --profile <profie-name>


